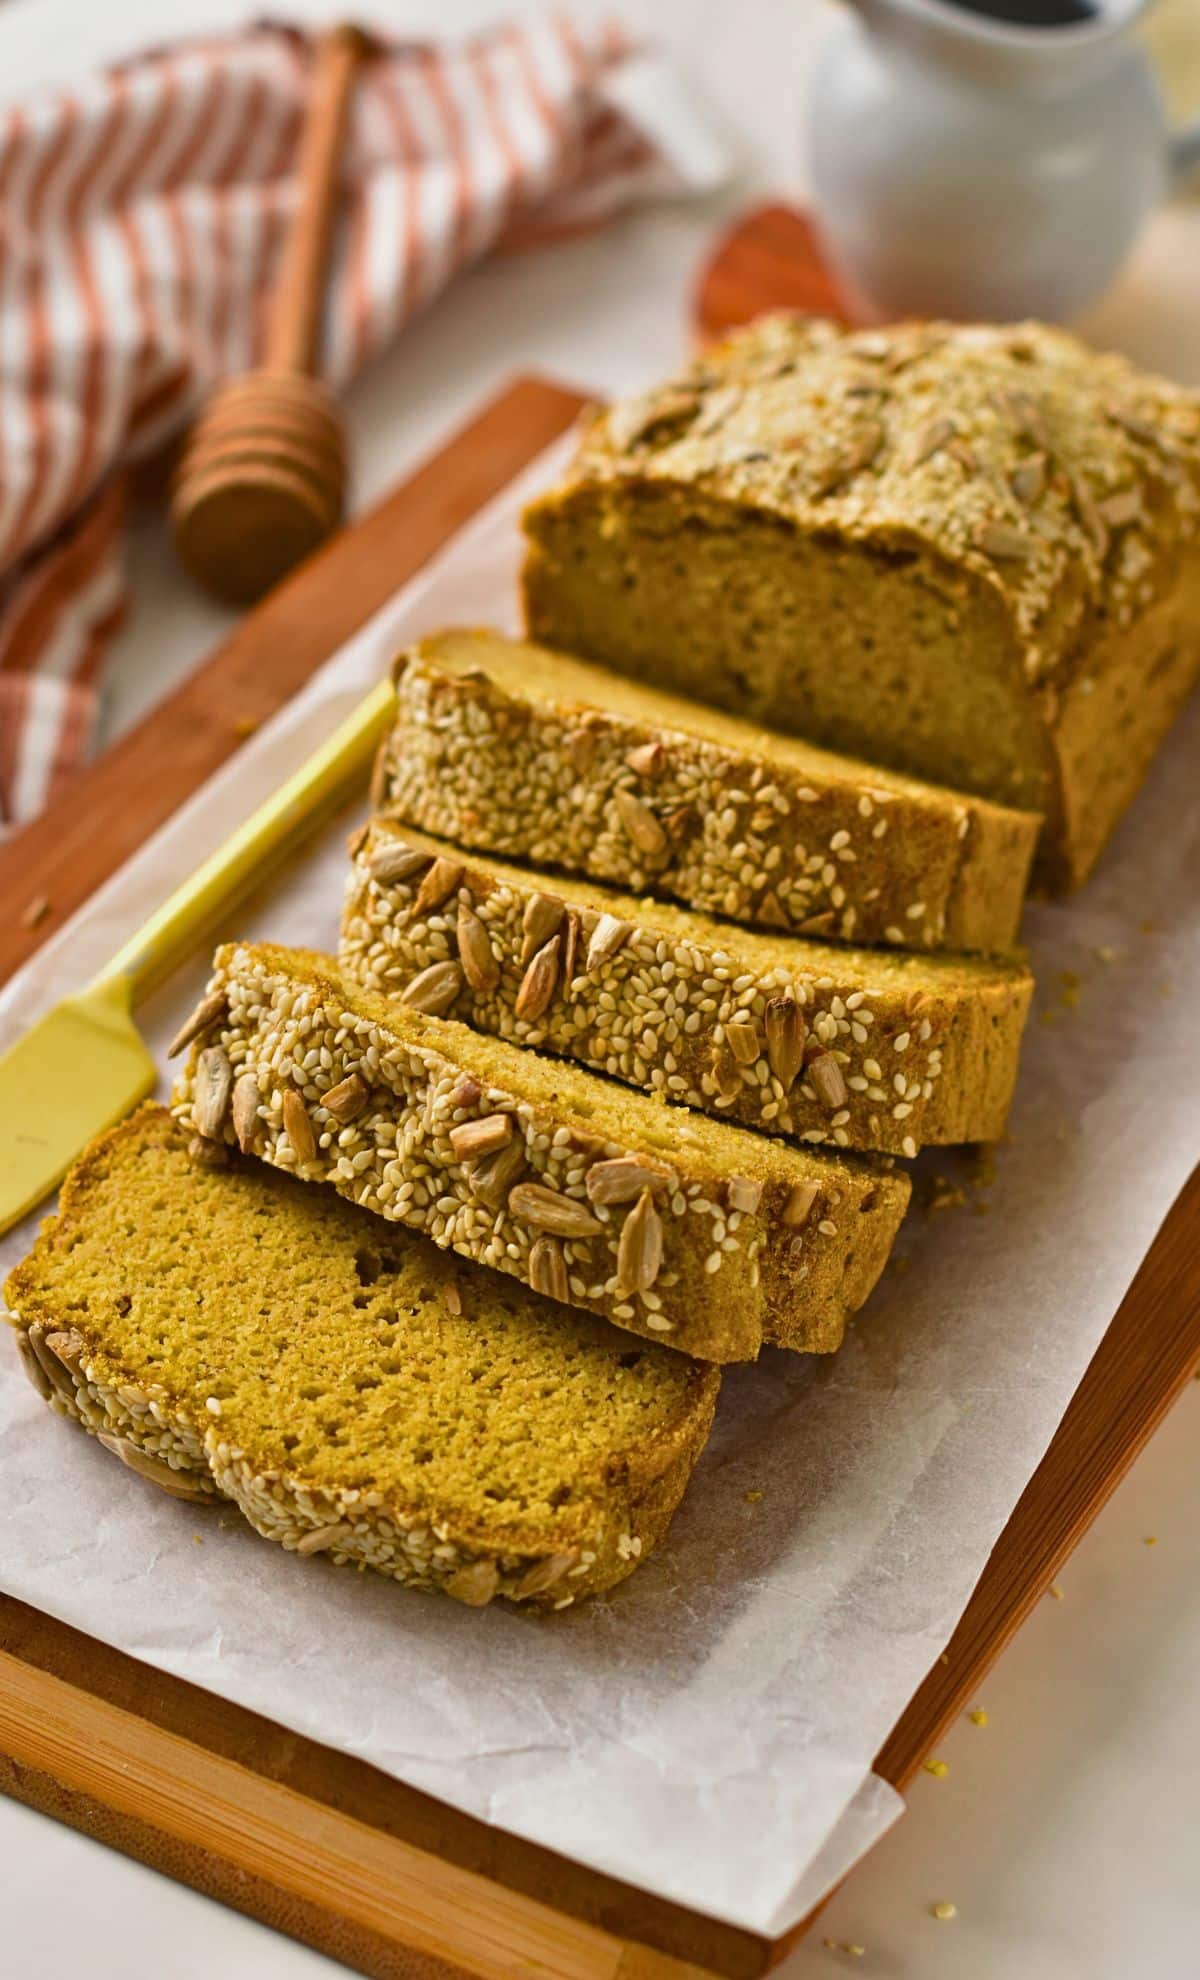
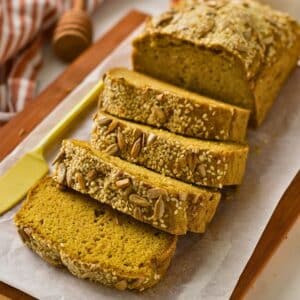
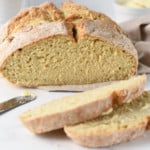
Dette Hirsebrød is the perfect gluten-free bread for sandwiches or breakfast toast with a delicious earthy millet flavor and you can whip it up in 10 minutes. It freezes well, toasts well, and can be used as an all-purpose gluten-free bread. Plus, millet bread is packed with fiber, and with 4 gram protein per slice, it will keep you full for hours.
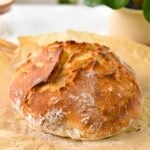
I love making my own bread, and after trying minimalistic recipes, like my Brød med 2 ingredienser, classic recipes like my Vegansk irsk brusbrød, or simple recipes like Havremelbrød, I wanted to make a healthy, gluten-free bread with millet flour.
Millet flour is a flott kilde til protein, fiber, vitamins, and minerals, so it’s an all-around great alternative to classic flour. This ancient grain was one of the very first grains cultivated and has been used ever since to make bread like this.
Selv om hele oppskriften er rett nedenfor, bør du ikke gå glipp av alle tipsene mine lenger ned, inkludert ingrediensbytter, matlagingstips og trinnvise bilder!
Liker du denne oppskriften?
Legg igjen en kommentere nedenfor eller gå til vår Facebook-side der jeg svarer på (nesten) alle kommentarer, vår Instagram-side for inspirasjon, eller vår Pinterest for å lagre oppskrifter!
Hirsebrød
Ingredienser
- 1 ½ kopper Stoneground Foxtail Millet Flour - (merknad 1)
- 3 ss Psyllium Husk - (merknad 2)
- 2 ss Olivenolje med mild smak - (merknad 3)
- 2 kopper Lunkent vann - 37C / 98F
- 2 ts Baking Powder
- ½ teskje Salt
Topping
- ⅓ cup Valgfrie frø - pumpkin, sesame, sunflower
Instruksjoner
- Line a 9-inch loaf pan with lightly oiled parchment paper. Set aside.
- Forvarm ovnen til 200 °C.
- In a mixing bowl, whisk dry ingredients: millet flour, psyllium husk, salt, and baking powder.
- Add oil and lukewarm water (bath temperature), stirring with a rubber spatula until the batter forms a ball that is a bit sticky and bouncy.
- Place the dough into the prepared pan and brush the top with a bit of water then sprinkle the seed mix on top.
- Bake the bread for 40-45 minutes at 400 °F (200 °C) until a pick inserted in the center of the bread comes out nice and clean.
- Let the bread cool on a cooling rack for at least 5 hours to overnight before slicing. If you slice it too early, it will pack and become dense.
Merknader
Ernæring
Ingredienser og erstatninger
You don’t need many ingredients to make this simple bread. Here’s how to pick them.
- Millet Flour – Use ultra-fine, store-bought millet flour. Home-ground millet from hulled grains can result in coarse flour, leading to a gritty texture.
- Psyllium Husk – Acts as a binder, giving the dough elasticity. Whole psyllium husk works best. Do not use psyllium-based supplements like Metamucil—they contain fillers that will alter the texture and give an unappetizing purple hue.
- Lett olivenolje – A neutral oil like avocado or sunflower oil also works well. Avoid oils with strong flavors (like extra virgin olive oil) unless you want it to affect the taste.
- Lukewarm Water (98°F/37°C) – Warm water helps activate the psyllium for better dough structure. Be mindful not to use varmt vann, as it will make the bread dense by partially cooking the batter before baking.
- Seeds for Topping – Customize with pumpkin, sunflower, sesame, flaxseeds, or even poppy seeds.
How to Use Millet Bread
This healthy bread can be used for everything from breakfast to snack!
- Til frokost: Toast with peanut butter, jam, or avocado slices.
- For Sandwiches: Lag med vegan cheese, fresh veggies, and hummus for a yummy lunch.
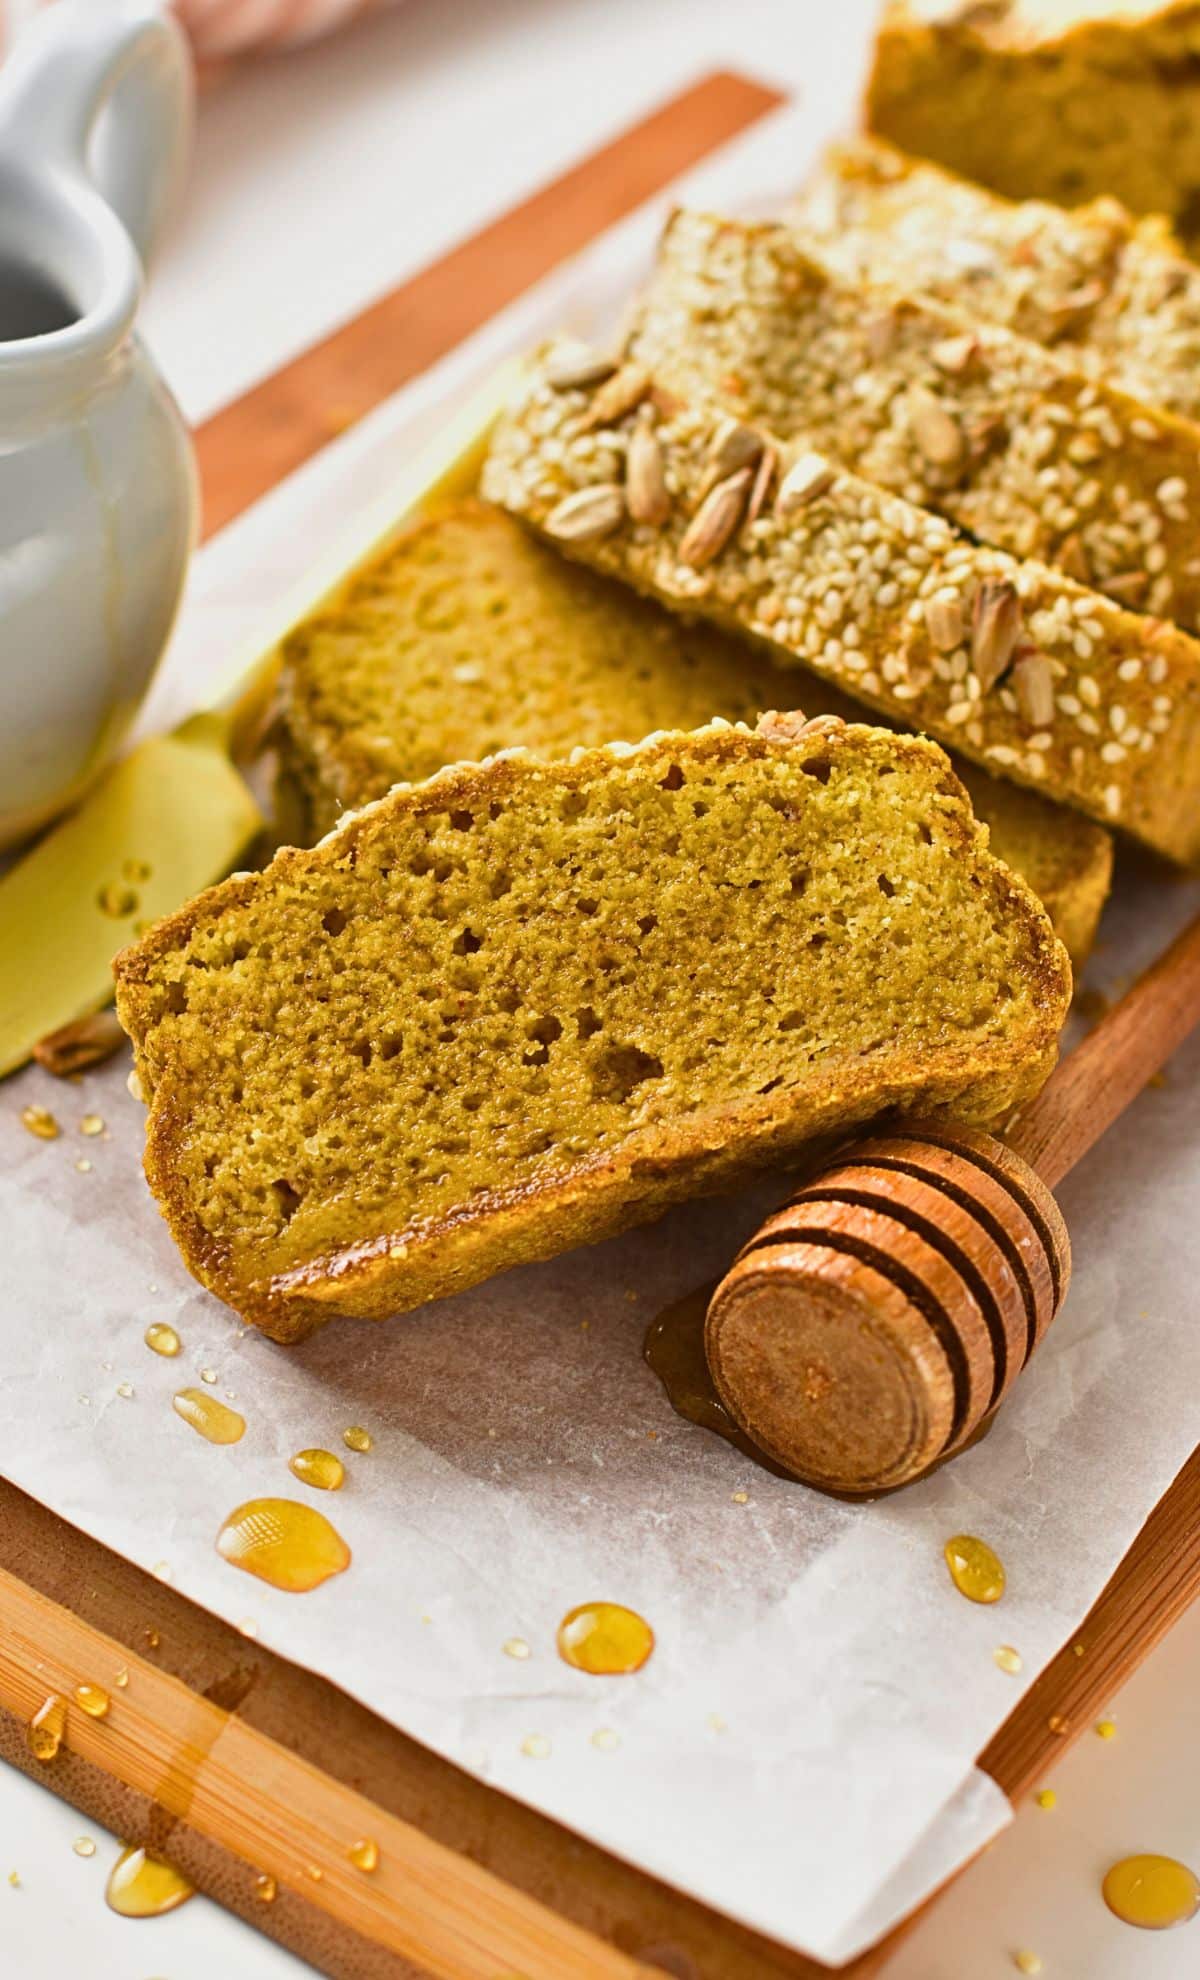
- Som mellommåltid: Spred med smør og honning or sjokoladehasselnøttpålegg for en søt godbit.
- Crispy Option: Brush slices with olive oil and bake in the oven to make gluten-free crostini.
Carines baketips
I have a few more tips for you that couldn’t fit in the recipe card.
- Don’t make your own millet flour for this bread recipe. A home blender will never create a consistent ultra-fine flour that makes the bread smooth, not gritty.
- Use the right psyllium husk. Powder is more absorbent than whole husk, which is what I am using here. If you use psyllium husk powder use 1/2 teaspoon less. Don’t use husk supplements. They are not made for baking.
- Don’t swap husk for anything else, this recipe won’t work without husk as a binder.
- Make sure you knead the dough until it forms a ball and the husk and millet have absorbed all the moisture. You may want to let the batter rest for 10 minutes and knead again. If your water isn’t warm enough, it takes a bit more time for the husk to do its job and bind the flour.


This was surprisingly good
Hei Carine
what millet are you using as I have 3 different millet flour I have, like nachni, sorgam and bajro. Please advice which millet flour have you used.
could you use chia seeds instead of psysillium see#s?( also can you email he recipe to me. I can’t print from my phone and don’t want to lose this recipe. thanks nina
No you can’t it won’t work
I can’t help much in my country it is sold as millet flour, and it has a light golden color but no extra information about type of millet.