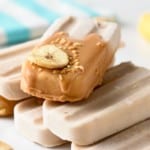
These 5-ingredient Coconut Popsicles are the most creamy plant-based popsicles for coconut lovers. Plus, these guilt-free summer treats are 100% gluten-free, dairy-free, and refined sugar-free.
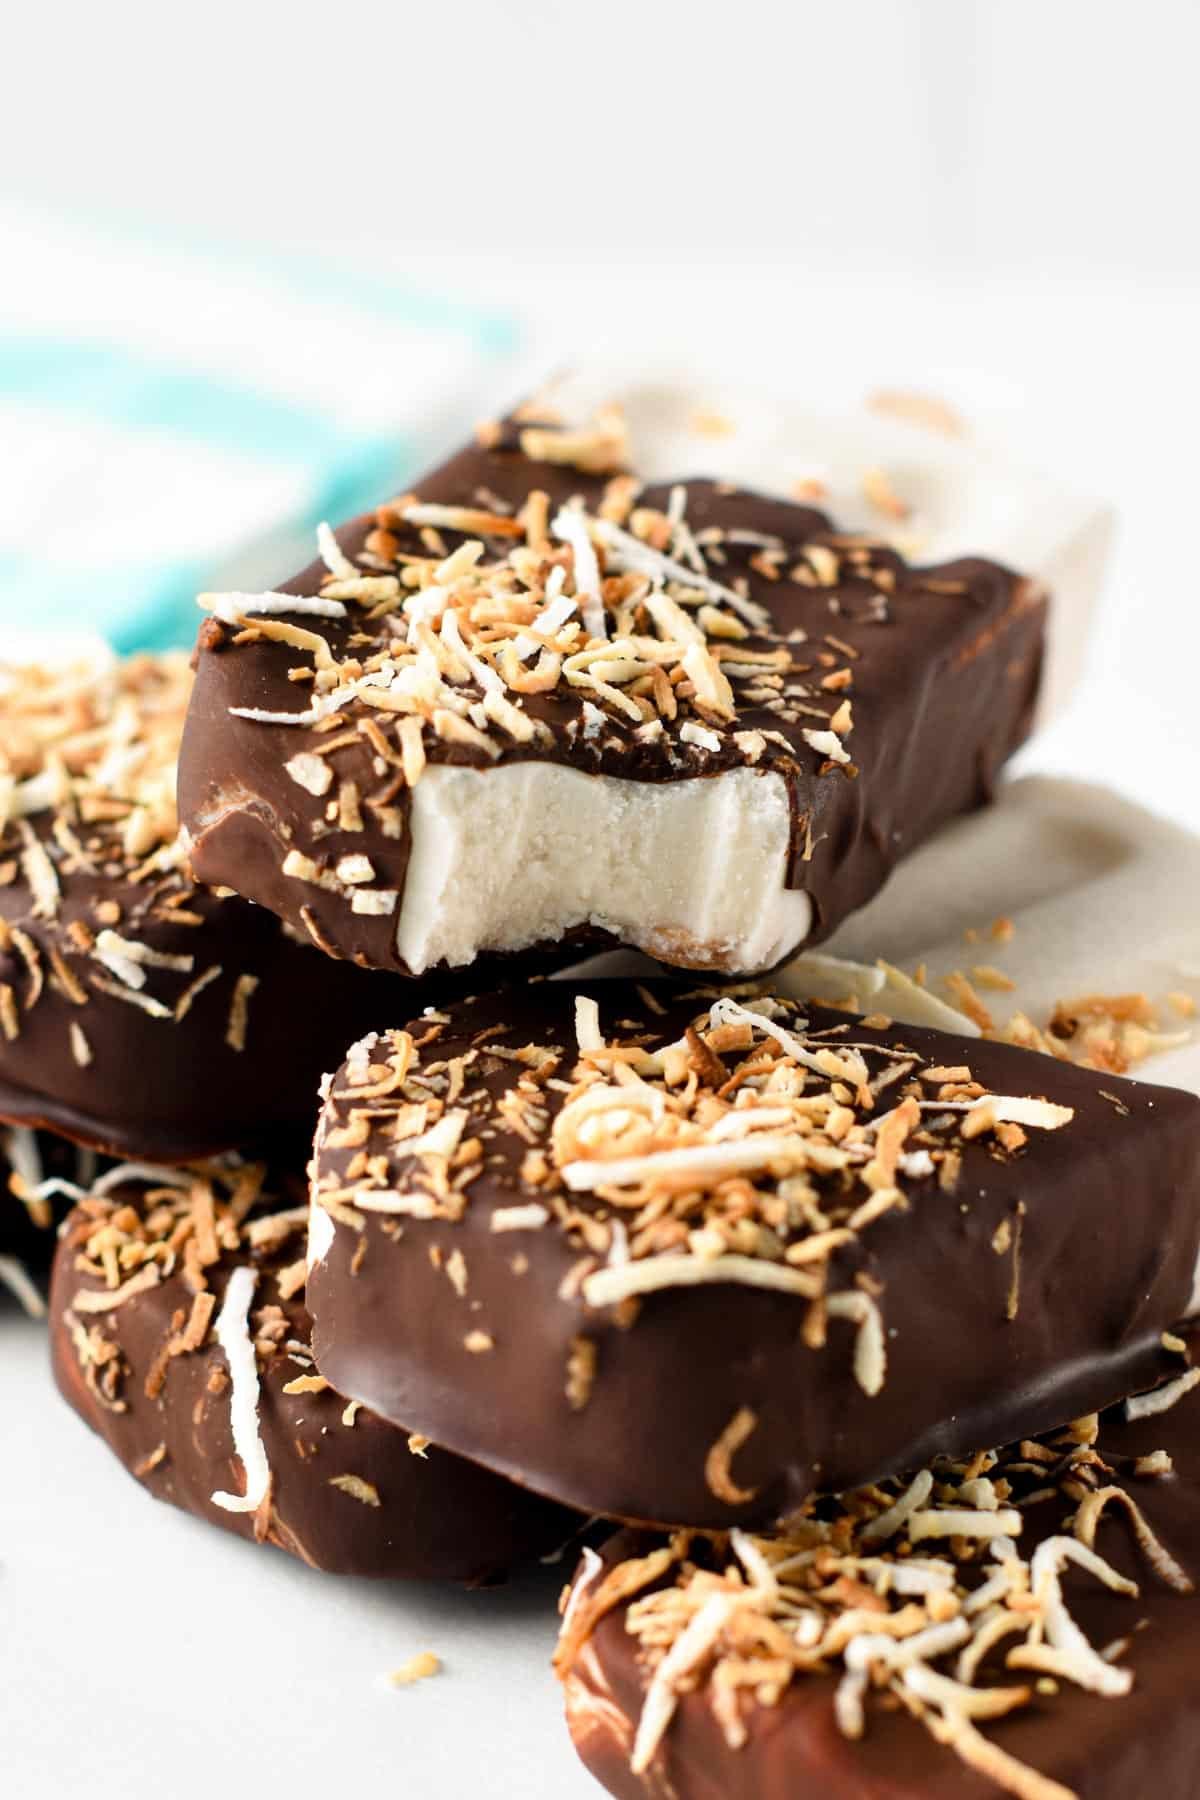
I love making my own ice cream, especially homemade popsicles, like my Avocado Popsicles, Banana Popsicles, and Peanut Butter Popsicles, because they are so easy to make.
A Coconut Popsicle is a simple no-churn ice block ready super quickly for a delicious summer treat. You don’t need an ice cream maker, and it takes just 10 minutes to prepare ice pops at home, which the whole family loves.
So after sharing my banana popsicles and peanut butter popsicles, time for a new flavor: Coconut Pops are ready for you!
Ingredients and Substitutions
Great news, you only need 5 ingredients to make these coconut popsicles.
- Full-Fat Coconut Cream – It’s one from a can with no added sugar or added ingredients, just pure coconut.
- Coconut Milk – Prefer unsweetened coconut milk to keep the unnecessary sugar at bay. If you want to reduce the coconut taste, you can also swap it for almond milk, oat milk, or cashew milk.
- Maple Syrup – Or any other liquid sweetener like coconut nectar.
- Unsweetened Shredded Coconut or coconut flakes.
- Toasted Coconut to decorate.
Add-Ons
There are a few ingredients you can add to the batter to enhance the flavor of the ice pops. For example, you can add 1/4 teaspoon:
- Vanilla extract
- Coconut extract
- Cinnamon
How To Make Coconut Popsicles
Let’s see what you need to make creamy coconut popsicles at home.
- Ice Pop Mold – My mold has 9 cavities that you can release one by one. This is pretty convenient because you can store all the remaining popsicles in their mold, releasing only one at a time.
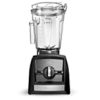
- Blender – The more powerful, the faster you’ll make them.
- Popsicle Sticks – Wooden sticks or metal sticks.
There’s nothing easier than making these popsicles.
- Place all the ingredients in a blender and blend on high speed to pulse the coconut flakes into a creamy texture. The texture should be very liquid but with no bits of coconut show.
- Then, pour the mixture into each popsicle mold with the mix, up to the top, and insert a popsicles wooden stick in the center of each pop.
- Freeze overnight to set the popsicles.
- You can unmold the frozen pops one by one or all at once to decorate in the next step. To release the popsicle from the plastic mold, place the mold under hot water.
- Pull the plastic mold in one direction with one hand and pull in the other direction with the other hand holding the wooden stick.
- Release the popsicles and set them aside for 10 minutes before eating or decorate with a chocolate shell following the explanation below.
Chocolate Shell
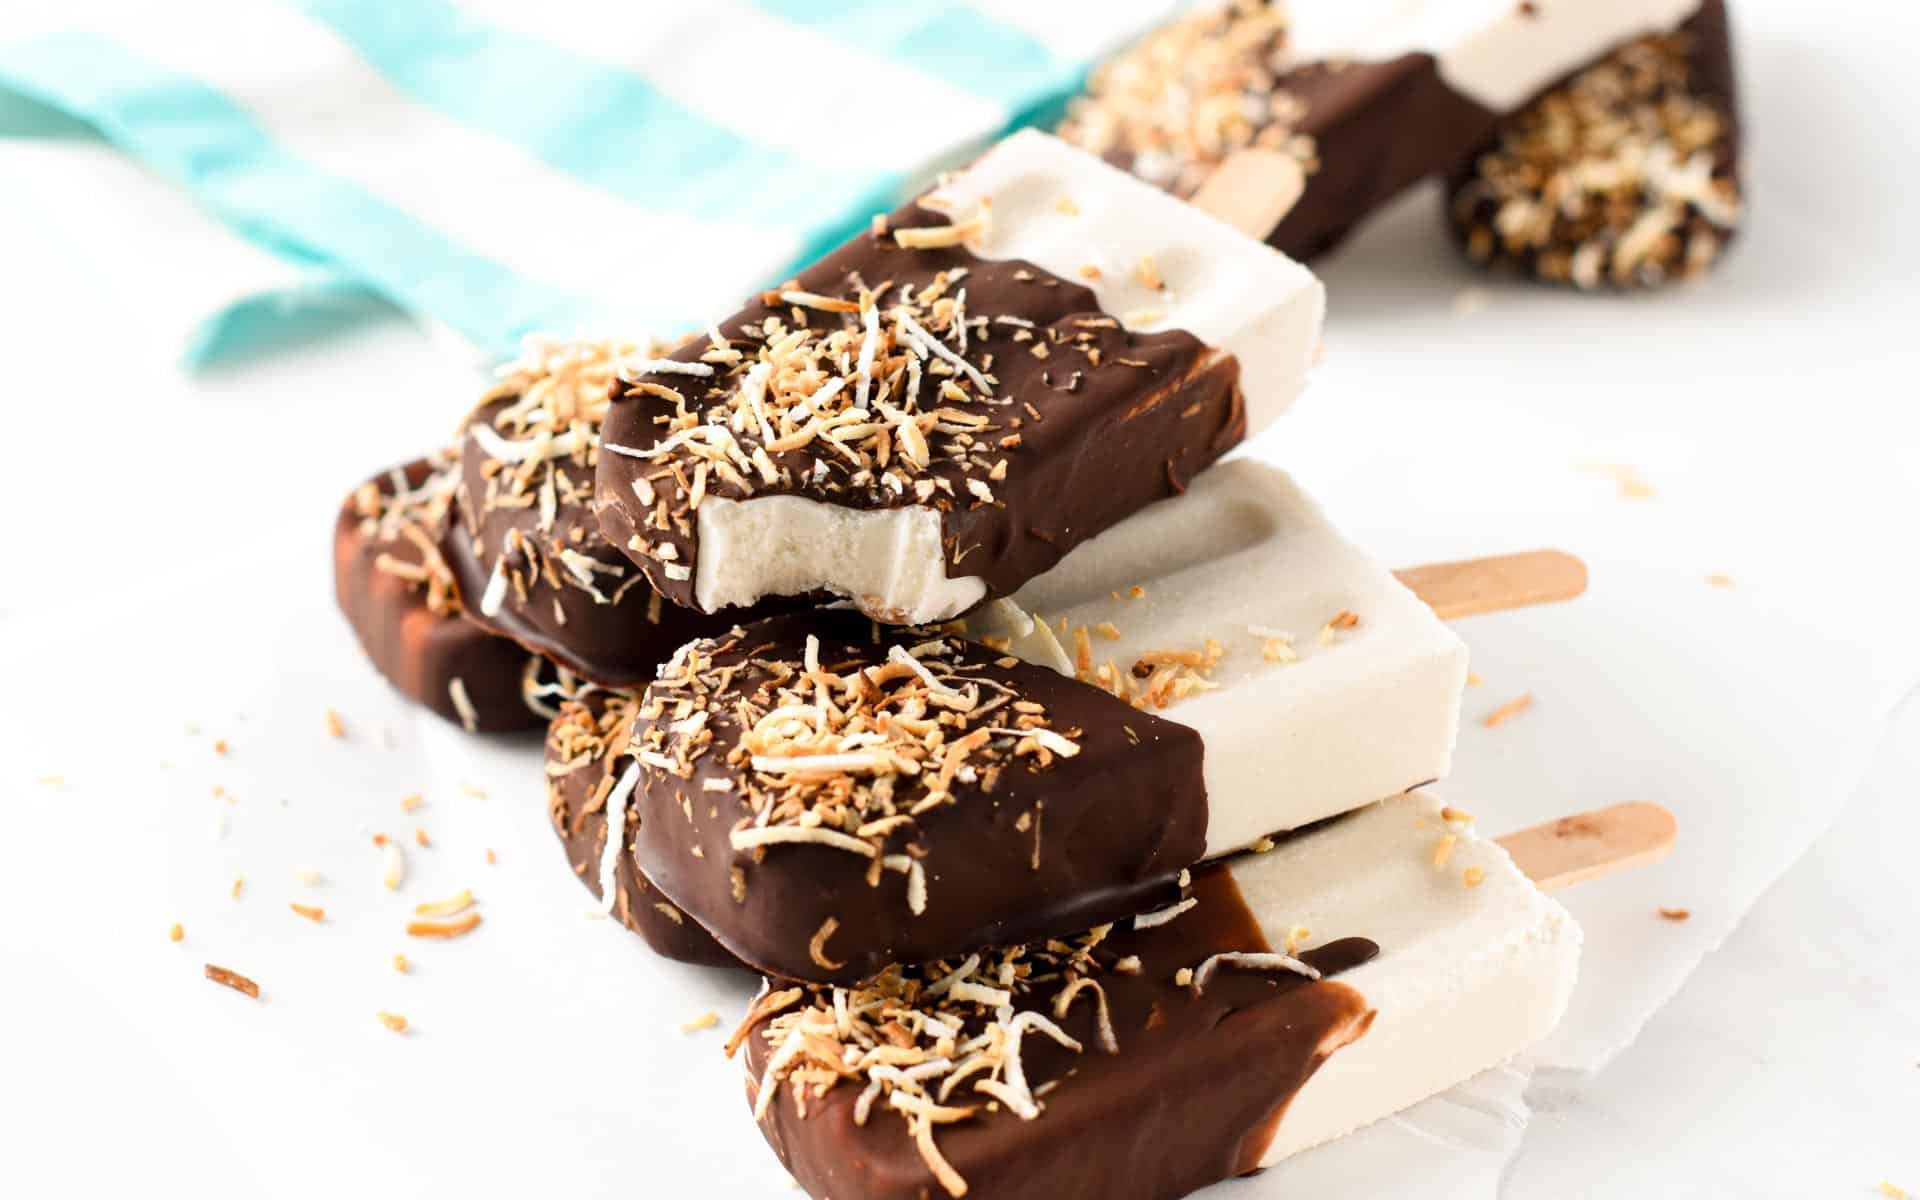
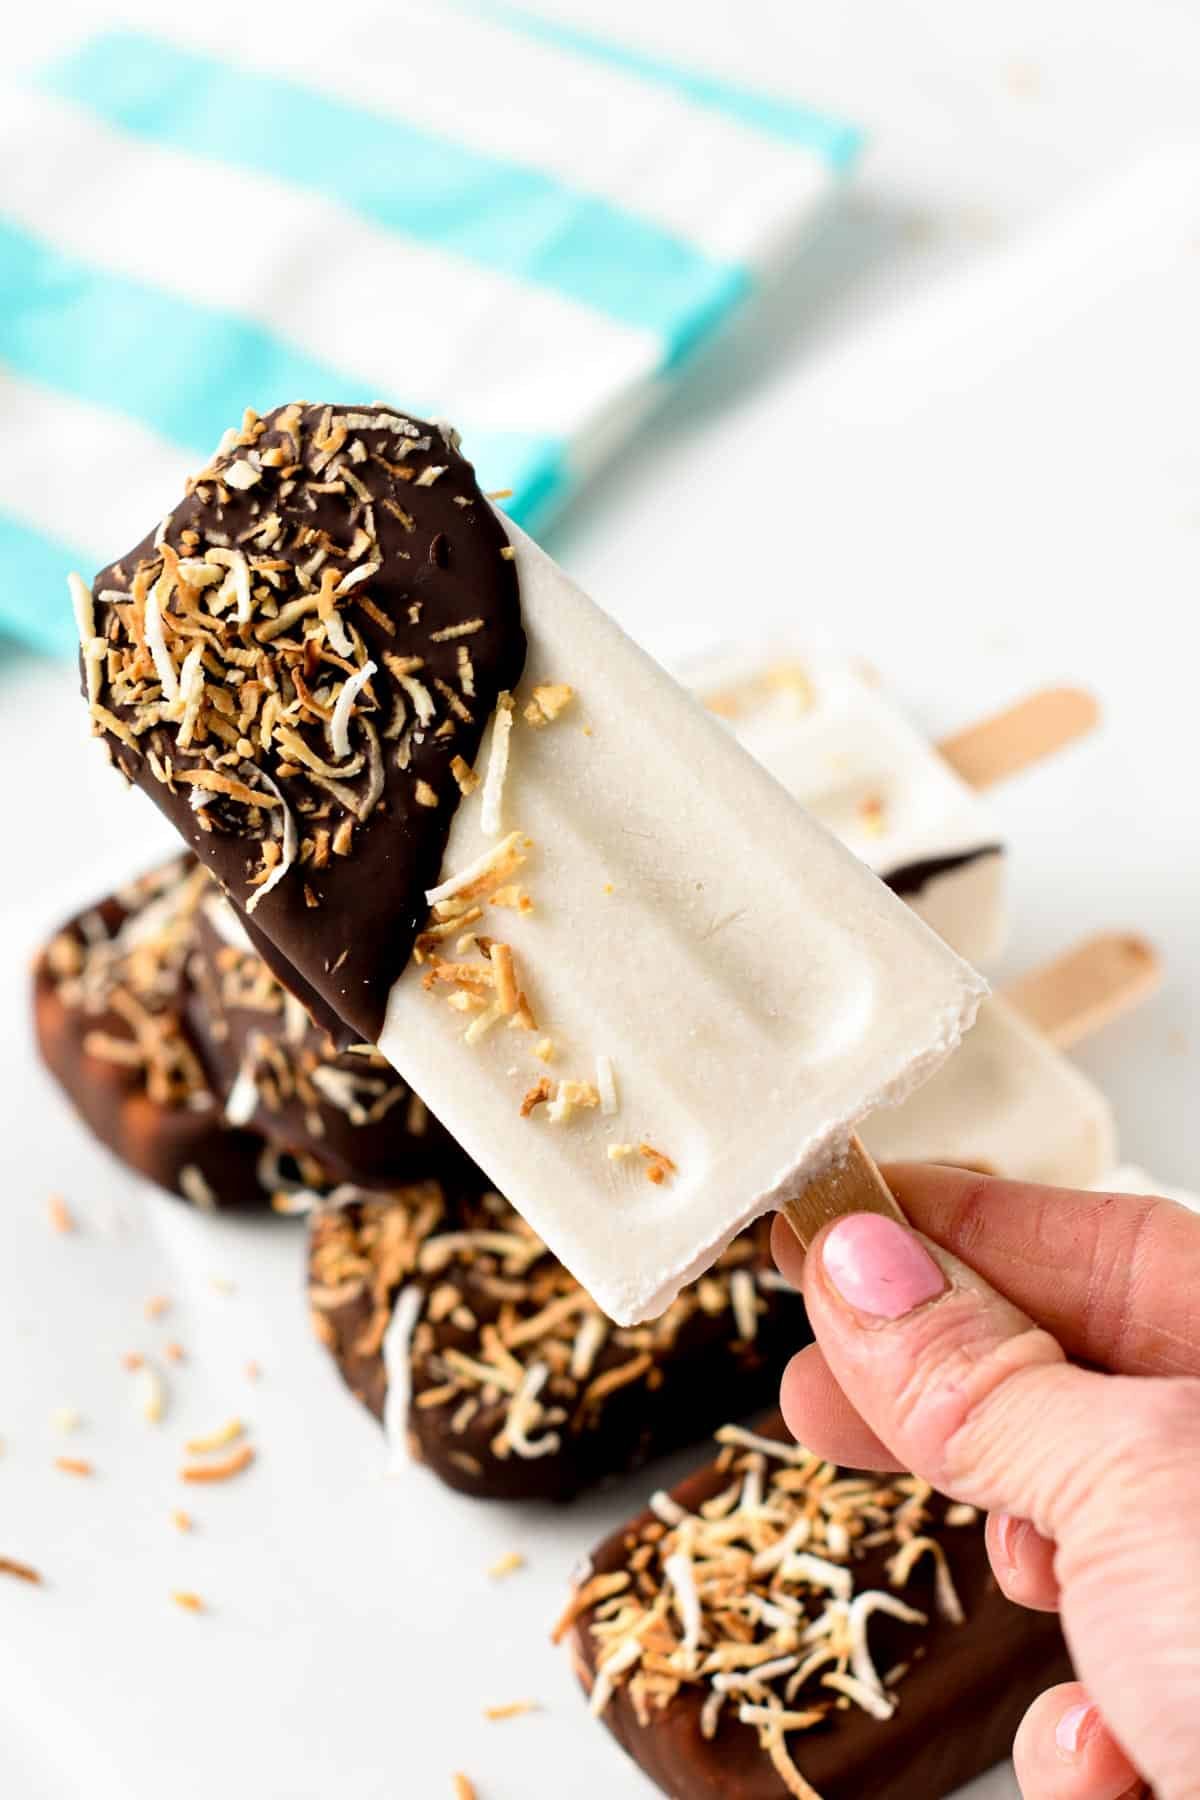
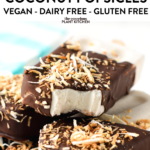
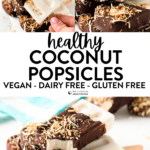
This is absolutely not necessary, but if you love chocolate and coconut you will love dipping the frozen coconut pops into melted chocolate. This chocolate shell with melt-in-your-mouth coconut ice cream is the most amazing thing.
- First, in a microwave-safe bowl, melt the chocolate and coconut oil.
- Next, dip the coconut pops into the melted chocolate, and if you like, sprinkle toasted coconut to add a crispy outside.
- Place the dipped popsicles on a plate covered with lightly oiled parchment paper.
- Repeat with the remaining popsicles.
- Place the plate in the freezer again and continue to freeze until the chocolate shell is set – it takes about 10 minutes.
Serving
These are no-churn popsicles and the perfect treat for the kids in summer.
Since they are not churned, you need to remove the popsicles from the freezer 10 minutes before eating.
This gives the ice cream time to soften and avoid a too-hard or icy texture.
Allergy Swaps
These popsicles are naturally dairy-free, gluten-free, and vegan. If you have some other food allergies, I listed below some options for you:
- Sugar-Free – you can use a sugar-free natural sweetener – preferably a syrup like Monk fruit-based maple flavored syrup.
Frequently Asked Questions
Below are the answers to your most frequent questions about this recipe.
Yes, you can, as long as you are using full-fat can coconut products, the popsicles will be creamy. Avoid low-fat coconut milk carton that makes the popsicles super icy.
Yes, these popsicles are made of no-churn ice cream, so the texture is hard straight out of the freezer. You must remove the popsicles from the freezer 10 minutes before serving.
More Easy Popsicle Recipes
Below are some more ice-cream recipes for you to try:
Did You Like This Recipe?
Leave a comment below or head to our Facebook page for tips, our Instagram page for inspiration, our Pinterest for saving recipes, and Flipboard to get all the new ones!
Coconut Popsicles
Ingredients
- 1 can Canned Coconut Cream - (400 ml, 13.5 oz) shake before opening
- ½ cup Coconut Milk - carton
- ½ cup Shredded Coconut
- ⅓ cup Maple Syrup - or sugar-free syrup
- 1 teaspoon Vanilla Extract
Chocolate shell – optional
- ½ cup Vegan Dark Chocolate Chips
- 1 teaspoon Coconut Oil
- ¼ cup Toasted Shredded Coconut
Instructions
- Note that these are no-churn ice cream, therefore the texture will always be a bit icy especially more if you use low-fat milk swaps – not recommended for best texture.
- In a blender, add all the ingredients: canned coconut cream, coconut milk, maple syrup, shredded coconut, and vanilla extract.
- Blend on the high-speed setting until smooth.
- Pour the ice cream into a 10-popsicle mold and insert a popsicle stick in the center of each popsicle.
- Freeze the coconut popsicles overnight.
Chocolate shell
- The next day, cover a plate that can fit all the popsicles with parchment paper.
- In a microwave-safe bowl, melt dark chocolate chips and coconut oil and place them in a tall glass.
- To unmold popsicles, run the plastic mold under warm water and pull to release popsicles easily.
- Dip the top of the popsicle into the melted chocolate, sprinkle toasted shredded coconut on both sides of the popsicles – onto the melted chocolate part, so it sticks to it.
- Place the dipped popsicles onto the prepared plate. Repeat with remaining popsicles.
- Freeze again to set the chocolate shell.
Serving
- Store popsicles in the freezer in an airtight container and set them for 10 minutes at room temperature before eating to enjoy their best texture.





Where can I buy that ice cream mold?
Have a look at the equipment section of the recipe card, there’s a link to my exact molds!
Super refreshing, I struggled a bit with my mold so will get the same as yours but the taste was perfect.