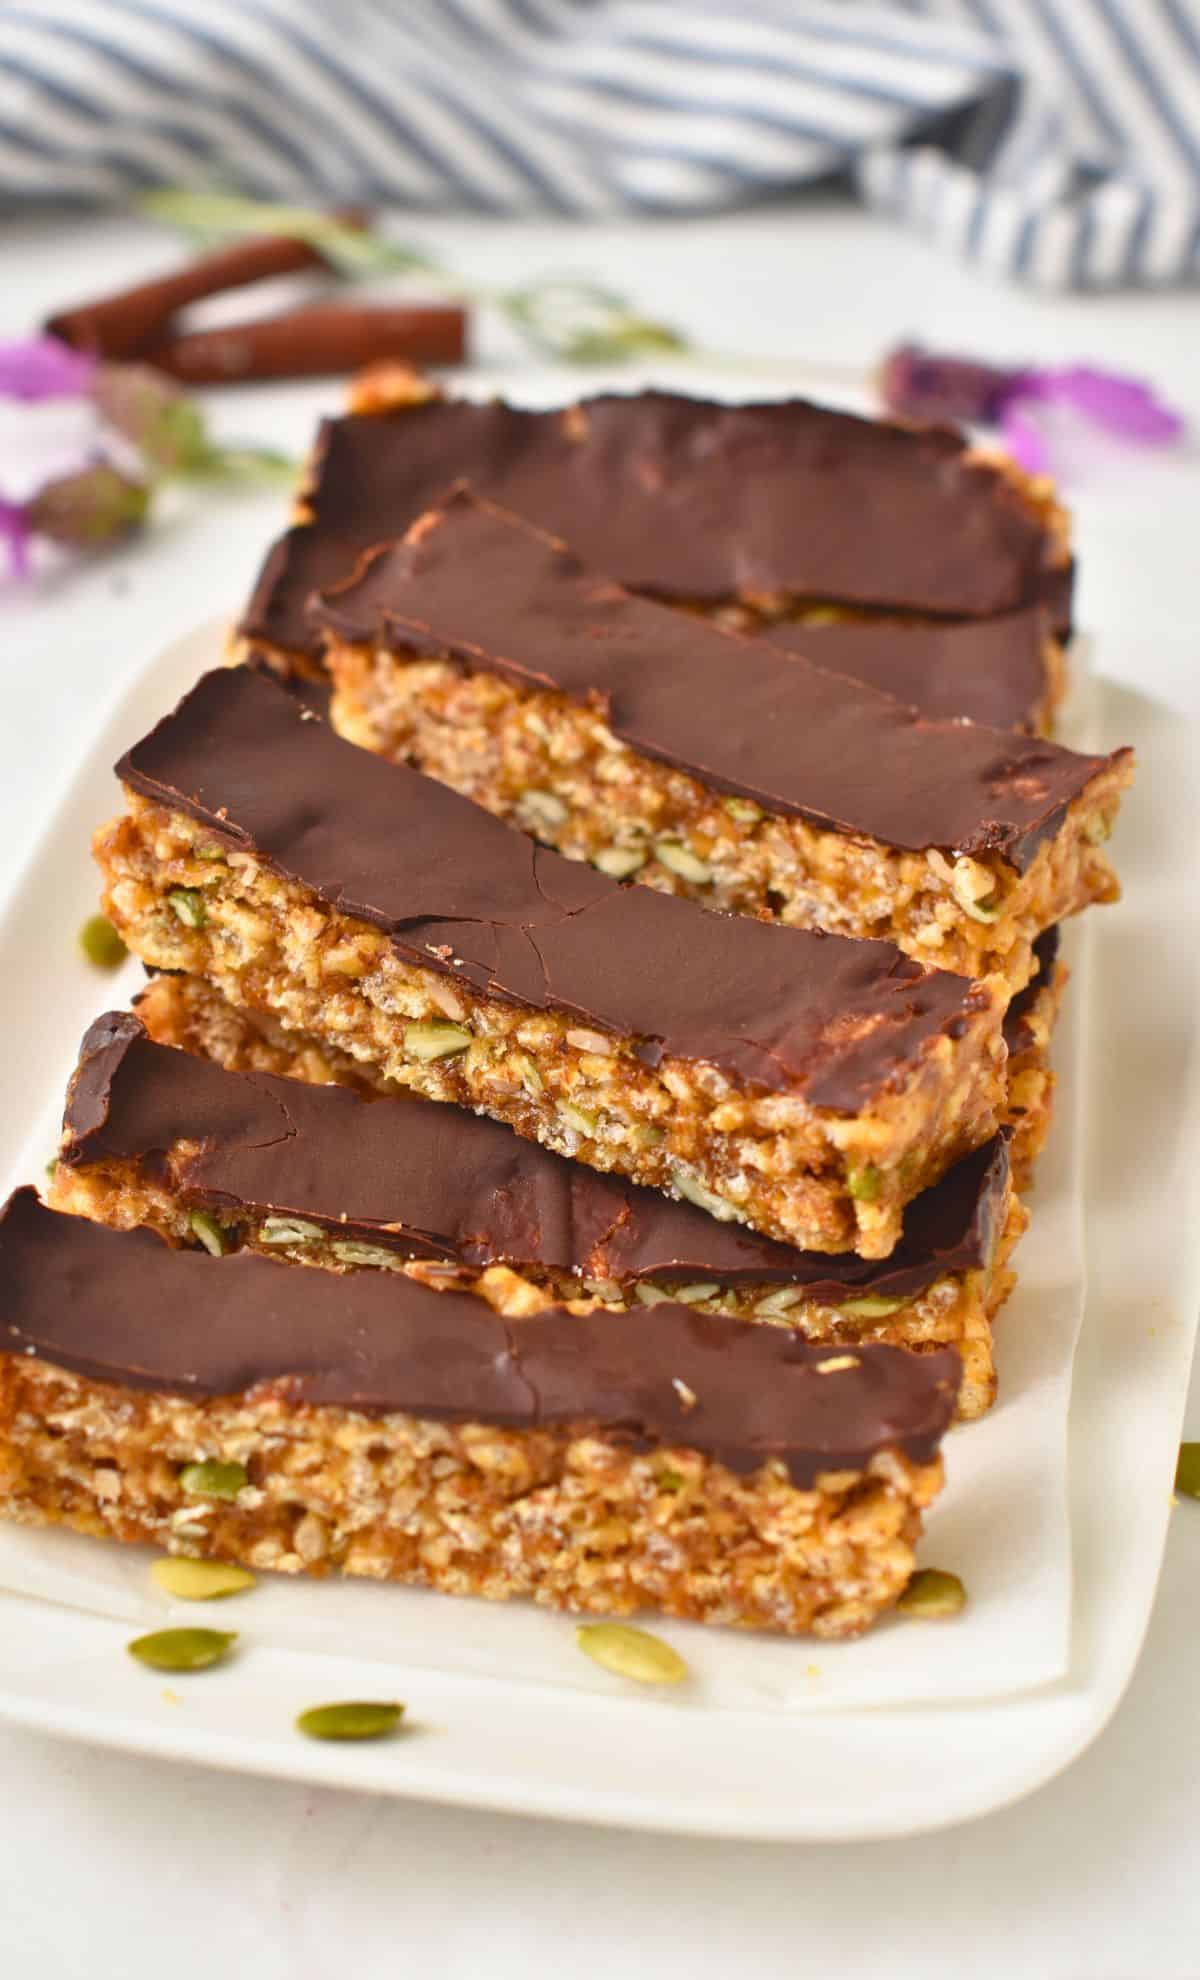
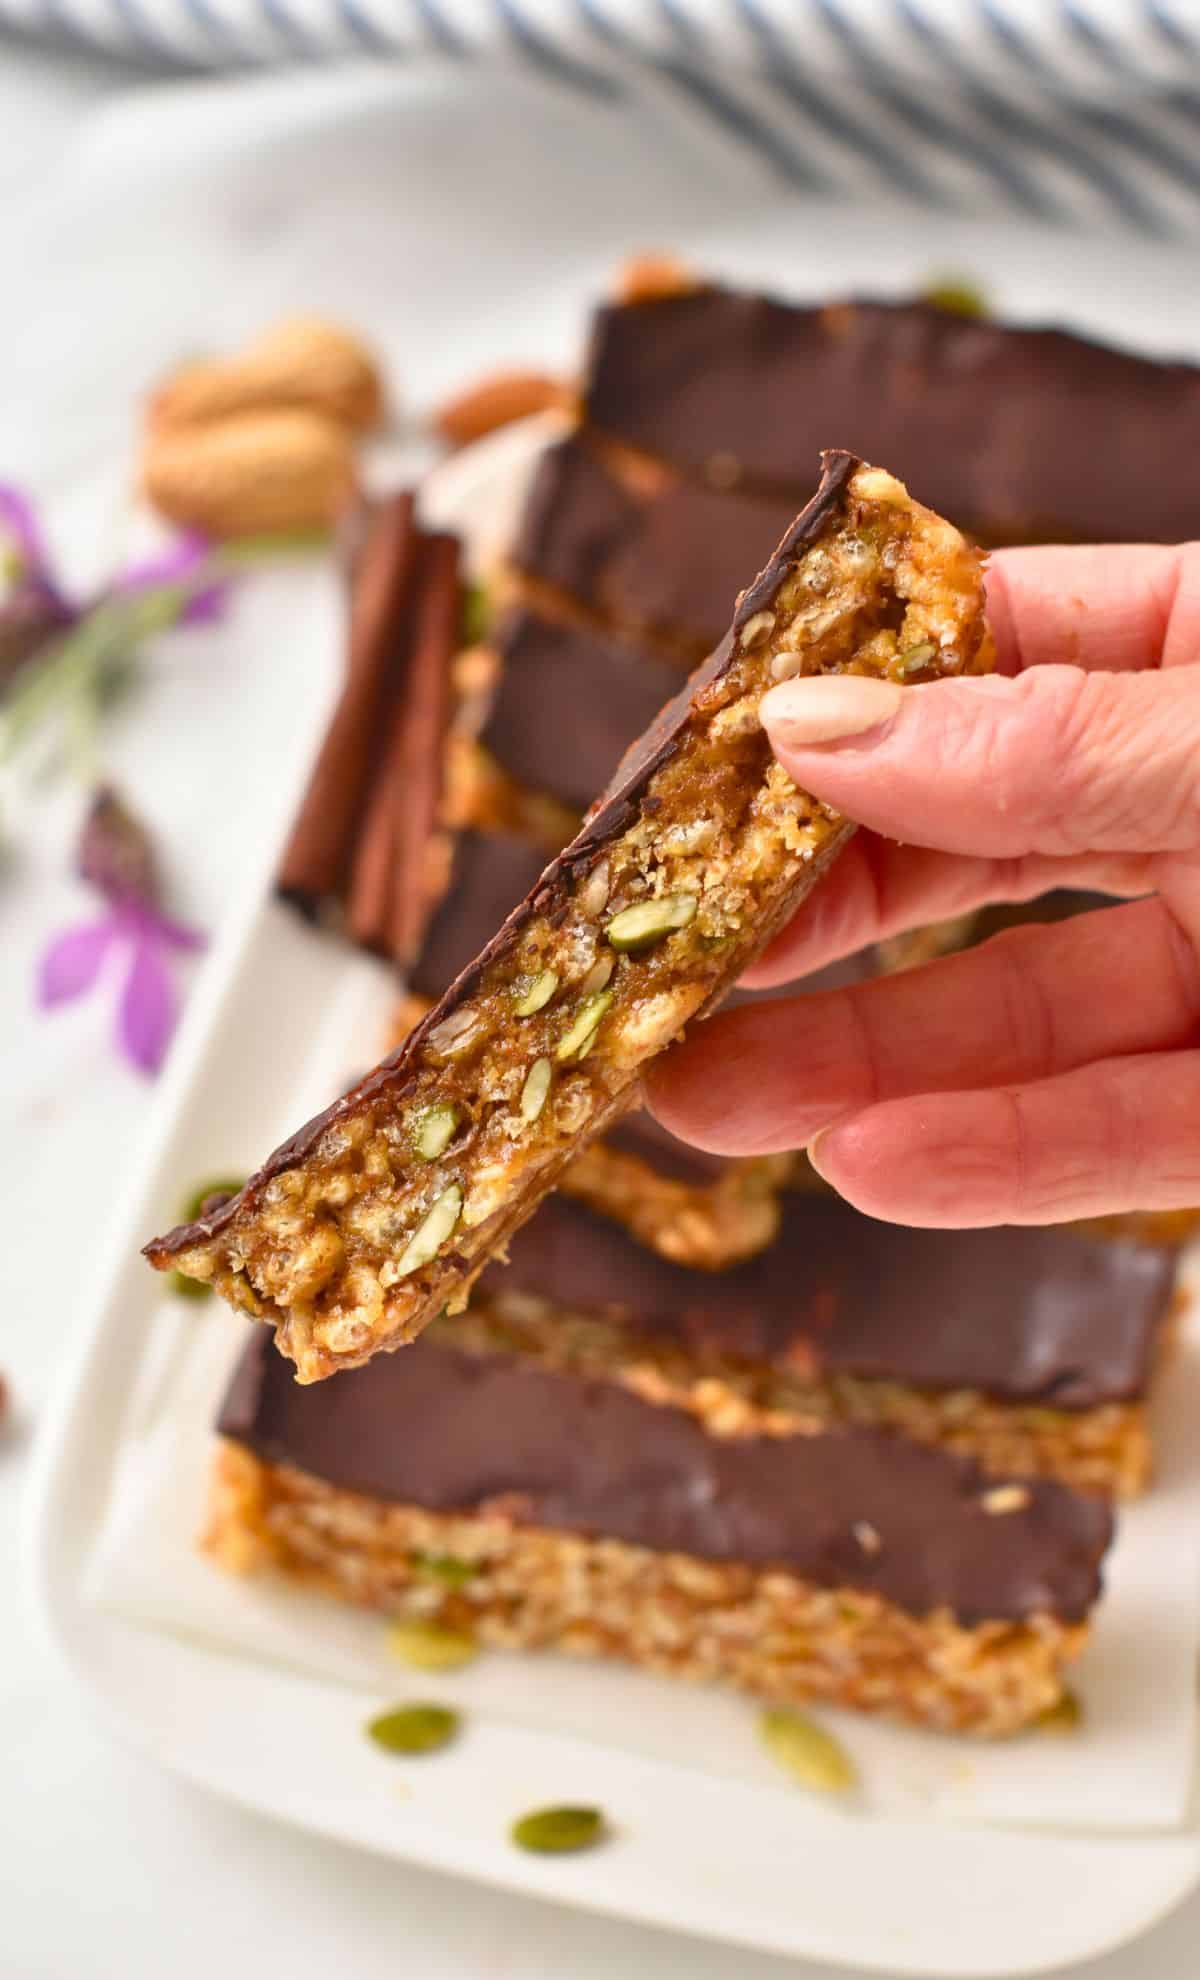
Ces Barres de granola maison sans gluten are easy gluten-free snacks, made with wholesome ingredients and packed with 6 grams of proteins to keep you full for hours. They are made with simple pantry ingredients, oat-free, and no bake.
I love to make bars for when I want a quick snack, like my Barres d'avoine saines, Barres d'avoine à la banane, ou Barres d'avoine à la citrouille but with a slight intolerance to oats and gluten, I wanted to make a version with absolutely no gluten and no oats.
These bars are packed with nutrients, 6 grams of protein and 2 grams of fiber per serving, so they’re both filling and energizing. The recipe is also incredibly flexible, allowing you to customize it to suit your dietary needs or use whatever ingredients you have on hand. Plus, they’re great for meal prep—make a batch, store them, and enjoy a healthy, on-the-go snack that stays fresh for up to a month in the freezer.
La recette complète se trouve juste en dessous, mais ne manquez pas tous mes conseils plus bas, y compris les substitutions d'ingrédients, mes astuces de cuisine et les photos étape par étape !
Vous aimez cette recette ?
Laisser un commentaire ci-dessous ou rendez-vous sur notre site page Facebook où je réponds à (presque) tous les commentaires, notre Page Instagram pour trouver l'inspiration, ou notre Pinterest pour sauvegarder des recettes !
Barres de granola maison sans gluten
Ingrédients
- ½ tasse Beurre d'arachide - (remarque 1)
- ⅓ tasse de sirop d'érable - (remarque 2)
- 1 cuillère à café Extrait de vanille
- 1 ¼ tasse Riz soufflé - (remarque 3)
- ¼ tasse farine de lin - (remarque 4)
- 2 Cuillères à soupe Graines de citrouille - (remarque 5)
- 2 Cuillères à soupe Graines de tournesol - (remarque 5)
Coquille en chocolat
- 2 onces Pépites de chocolat noir
- 1 cuillère à café L'huile de noix de coco
Instructions de Pose et d'Entretien
- Line a 9-inch x 6-inch loaf pan with a large piece of parchment paper so it hangs on the sides. This makes it easier to unmold the bar later. Set aside.
- In a large mixing bowl, add peanut butter, maple syrup, and vanilla extract.
- Stir with a rubber spatula until smooth and creamy.
- Stir in the remaining ingredients until it forms a sticky dough.
- Press the dough firmly in the prepared pan. I like to press a piece of parchment paper on top of the bar, and press hard with my hands to smoothen the top and pack all the ingredients together. Peel off the piece of parchment paper you used to press the bar.
- In a microwave-safe bowl, add the chocolate chips and coconut oil.
- Microwave it in 30-second bursts, stirring between each, until fully melted then pour over the bar and spread to fully cover the ingredients with melted chocolate.
- Pop the pan in the freezer for 15 minutes to firm up the chocolate shell and the bar.
- Remove the bar from the pan and transfer it to a chopping board. Use a sharp knife to cut into bars.
Remarques
Alimentation
Ingrédients et substitutions
You need just a few ingredients to make these bars. Let me share how to pick them.
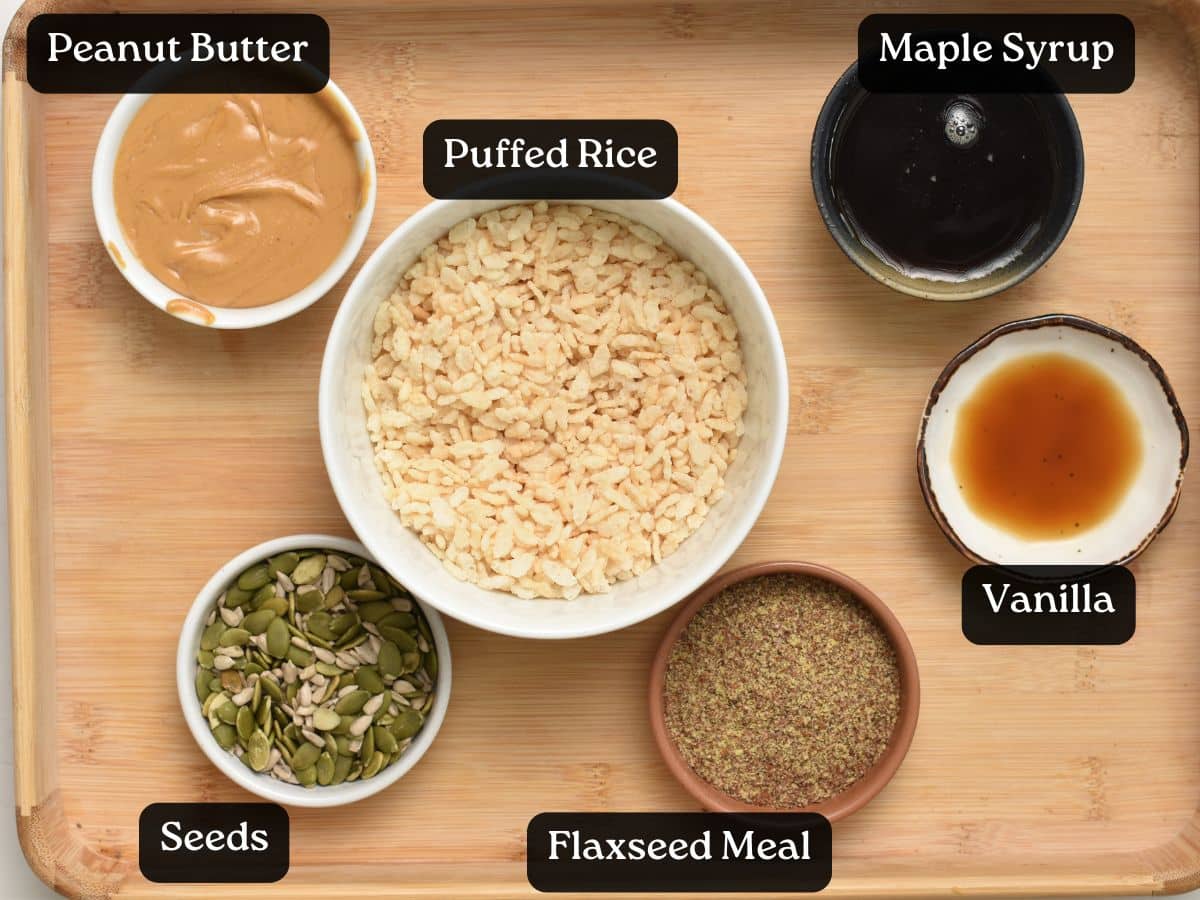
- Beurre d'arachide – This is the main binder and adds a creamy texture and nutty flavor. Almond butter, sunflower seed butter, or cashew butter are excellent alternatives for varying flavors or creating a nut-free option.
- de sirop d'érable – To sweeten and bind the ingredients together. It can be replaced with agave syrup, coconut nectar, or honey (if not vegan).
- Extrait de vanille – To enhance the sweetness and flavor depth of the bars.
- Riz soufflé – This provides a light, crunchy texture. Gluten-free certified puffed quinoa, buckwheat, or amaranth can be used for added variety and nutrition.
- Farine de graines de lin – To add fiber and help firm up the bars. Ground chia seeds can replace flaxmeal for a similar effect.
- Pumpkin and Sunflower Seeds – Seeds contribute crunch, protein, and healthy fats. Swap with other seeds (like hemp or sesame) or chopped nuts (like almonds, pecans, or hazelnuts) for variety.
- Dark Chocolate Shell – The melted dark chocolate and coconut oil layer adds a rich, indulgent coating. You can skip it for a lighter option or replace it with dairy-free chocolate for a vegan version.
How to Make Homemade Gluten-Free Granola Bars
This recipe is really easy to whip up in just a few minutes. Here’s how in pictures.

Combine the maple syrup and peanut butter in a bowl with a spatula.
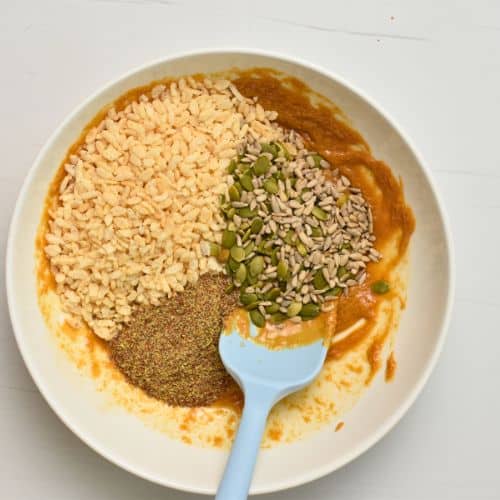
Pour the dry base ingredients on top of the mixture.
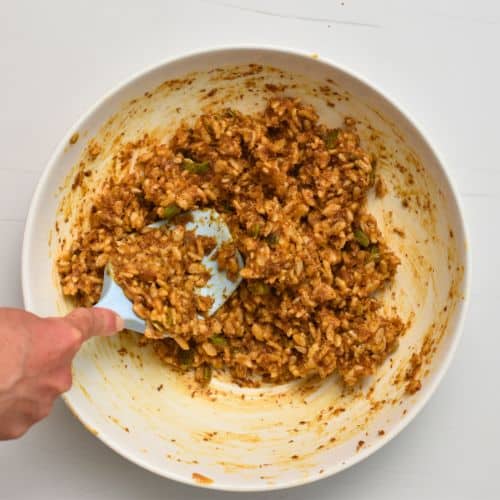
Stir the base mixture until it’s sticky and well combined.
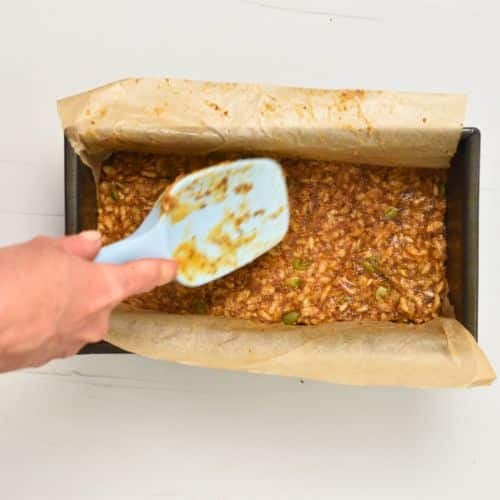
Transfer the mixture to a loaf pan lined with parchment paper.
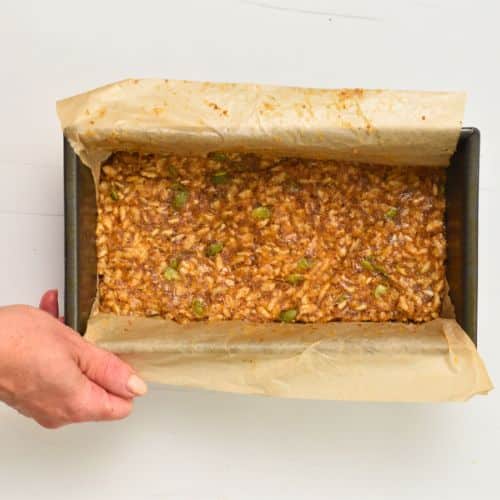
Press the base into the pan by folding the paper and pressing it with your hands.
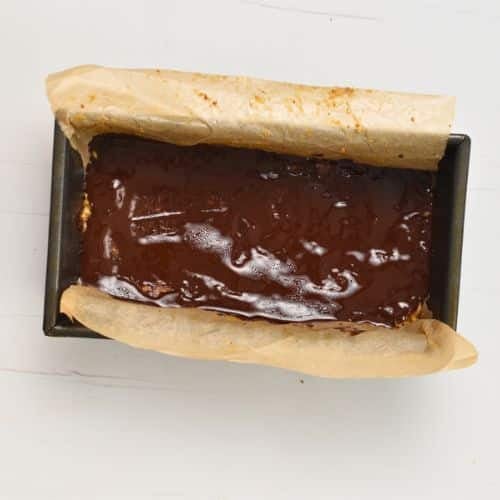
Melt the chocolate with coconut oil in the microwave, pour it over the base, and place it in the freezer for 15 minutes.
Conseils de Carine
I have a few more tips to make sure you make the best possible bars.
- Appuyez fermement – Use a sheet of parchment paper and your hands or a flat-bottomed glass to pack the dough tightly into the pan. This step is essential for ensuring the bars hold together once cut.
- Personnalisez les saveurs – Experiment with different combinations of seeds, nuts, dried fruits (like cranberries or raisins), shredded coconut, or even mini chocolate chips for a unique twist.
- Boost de protéines – Replace the flaxmeal with protein powder or powdered peanut butter for extra protein content. Add more maple syrup or a touch of milk if the mixture feels too dry.
- Ensure Gluten-Free Certification – Always check the labels of puffed rice or cereals to confirm they are gluten-free, as some contain barley.
- Even Chocolate Layer – After melting the chocolate, spread it quickly and evenly over the bars with a spatula for a professional-looking finish.
- Ajuster la douceur – Taste the mixture before pressing it into the pan. Add more sweetener if desired.
- Conseils de stockage – Store bars in a sealed container with parchment paper between layers to prevent sticking. For longer storage, freeze the bars and thaw them overnight in the fridge before serving.


Absolutely delicious and so easy to make!
Merci beaucoup!
How many dayas in the fridge?
You can keep them up to 4 days in the fridge, a month in the freezer in airtight zip bags. Thaw at room temperature the day before serving.
What brand of puffed rice do you get? Having a hard time finding a healthy option at the stores
I found Nature Path Organic very good, it’s puffed brown rice and gluten-free
These are so yummy n so quick n easy to make. I make put puff quinoa in next time I only had brown puffed rice. They give a healthy sneakers bar vibe. (uk)
Thanku for the recipe.
I halved the maple syrup and added a little coconut oil in the mix to prevent dryness given there was less syrup. It’s absolutely delish! Thank you, we have been looking for some snacks that are tasty and have some nutritional value (rather than store bought packet bikkies and muesli bars) for our family. This was easy and just the kind of thing we were looking for
Your recipe looks delicious and I love the sort list of good ingredients. Thank you!