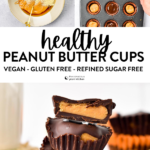
These Vegan Peanut Butter Cups are the most delicious, healthier snack for chocolate peanut butter lovers. Plus, these are healthy peanut butter cups made with no refined sugar, gluten-free and keto-friendly, so you can share them with all families and friends.
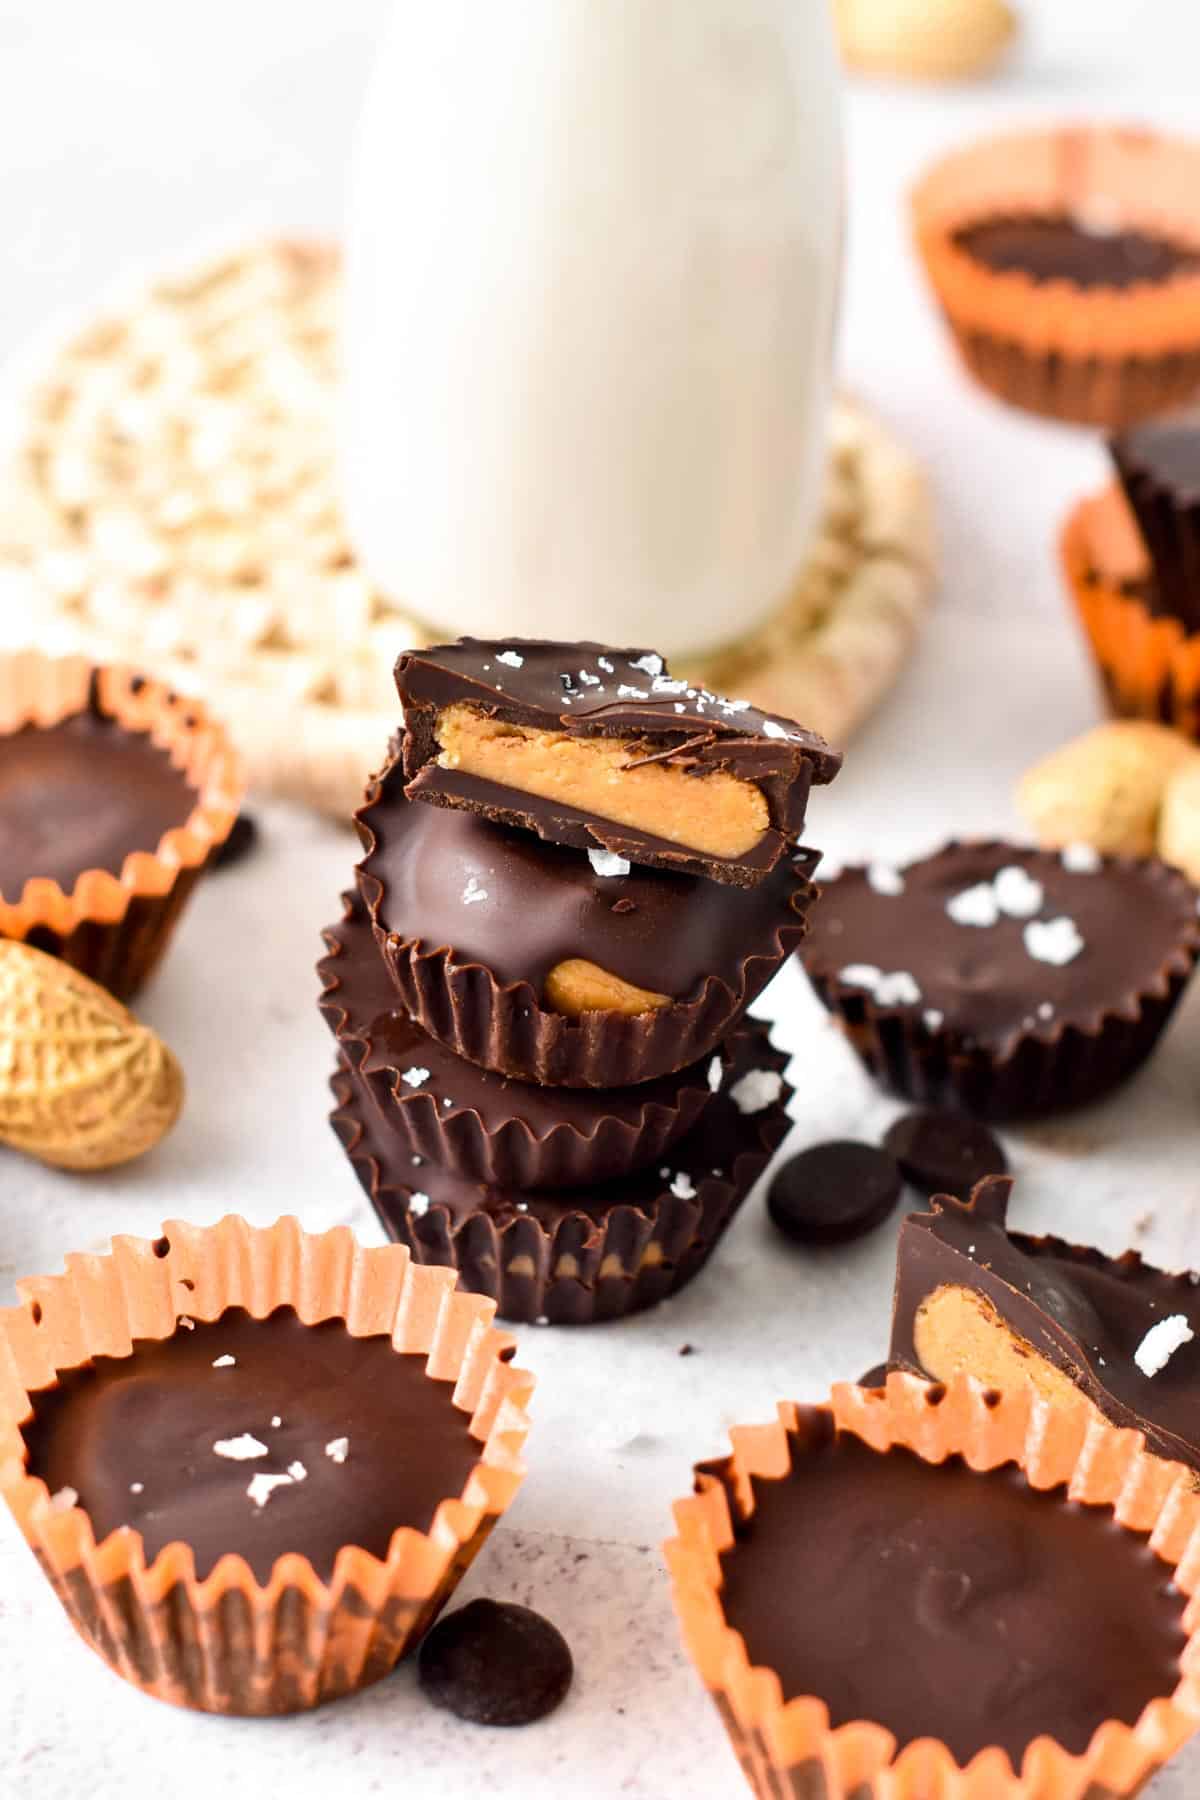
I am a huge fan of peanut butter recipes, and when I don’t feel like making my no-bake peanut butter bars or my no-bake peanut butter cookies, I make these cups. Most vegan peanut butter cup recipes use a combination of peanut butter and powdered sugar. I prefer refined sugar-free sweeteners and almond flour for a healthier twist.
These peanut butter cups are copycats of the classic Reese’s cups. They are single-serve, bite-sized chocolate cups filled with a biscuit-like filling made of sweetened peanut butter.
Ingredients and Substitutions
All you need to whip up a batch of homemade peanut butter cups are:
- Natural Peanut Butter – It means unsalted, unsweetened peanut butter with no added oil. If your peanut butter contains salt, you can still use it, but the taste will be a tad salty.
- Coconut Oil – Or any other oil you like. Other vegetable oil will keep the cups softer as they have a lower melting point.
- Vegan Chocolate Chips, or 85% dark chocolate, for a dairy-free chocolate with a stronger cocoa flavor.
- Maple Syrup – or any other unrefined liquid sweetener like coconut nectar or agave syrup.
- Vanilla Extract – for flavor.
- Almond Flour – Almond flour is safe to eat raw, unlike all-purpose flour.
- Sea Salt – Optional but I like to add a pinch of sea salt on top of the cups before serving.
How To Make Vegan Peanut Butter Cups
It’s super easy to make this delicious peanut butter treat at home with the most simple wholesome ingredients.
Before you start making this recipe, pick the size of cups you want to make.
- Mini Peanut Butter Cups – Use two mini-muffin tins and mini cupcake liners. This recipe will make 24 mini peanut butter cups.
- Regular Peanut Butter Cups – Use one regular 12-hole muffin pan with regular muffin paper liners.
Now that you have the pans fill each muffin hole with muffin paper liners. Slightly oil the paper if yours tend to stick to food. Set aside.
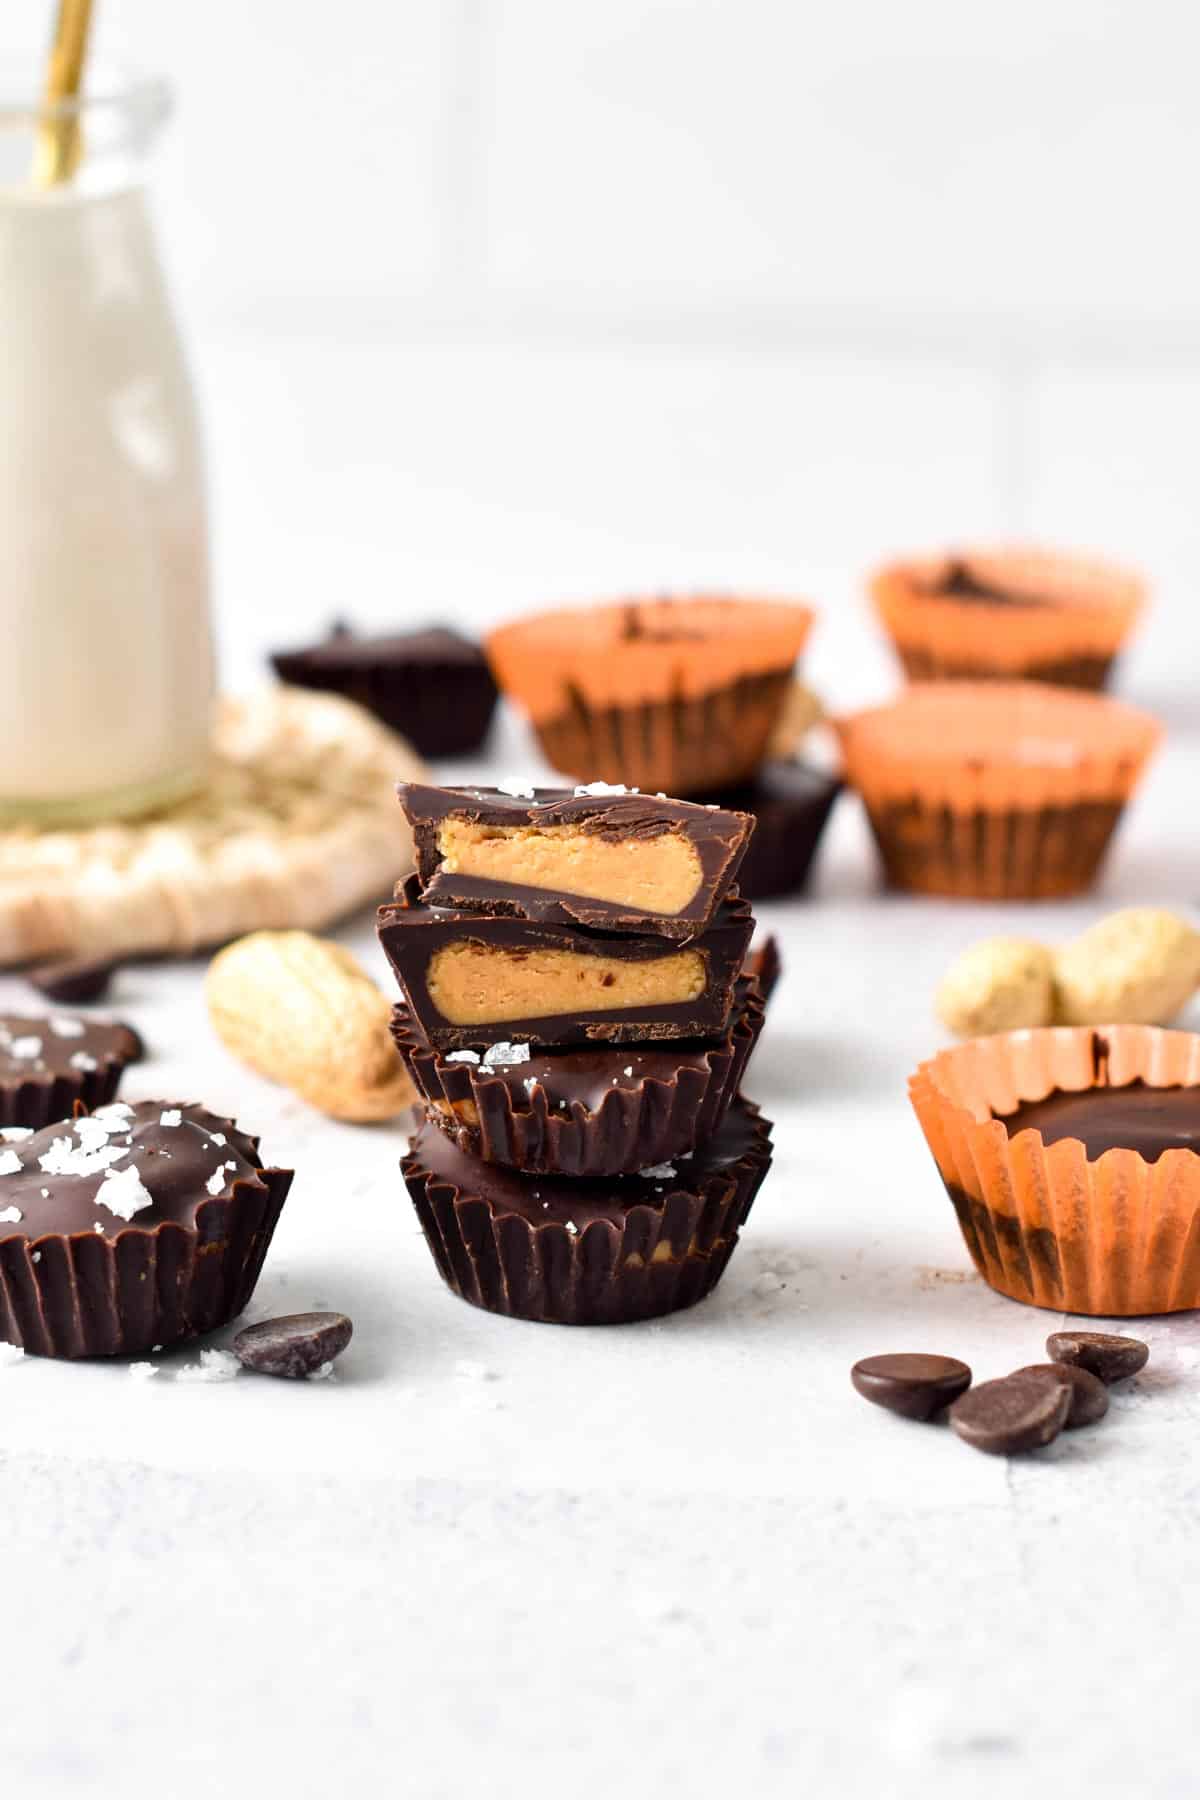
Peanut butter cups are made in 3 simple steps that involve your freezer.
- So before you start, make sure that you have space left in the freezer to pop the muffin pan, as this is a crucial step to set the layers of chocolate.
- As easier as it sounds, melting chocolate for a peanut butter cup recipe is a tricky thing. You will use half the melted chocolate once for the bottom layer.
- Then, set the layer in the freezer for about 10 to 12 minutes. Finally, use the remaining melted chocolate to form the top of the chocolate cup.
This means that you want the melted chocolate to stay fairly liquid between step 1 and step 3.
First, melt the chocolate. You have three options to do so:
- Microwave – Place the dark chocolate chips and coconut oil in a microwave-safe bowl and microwave in 30-second bursts, stirring between, until the chocolate is fully melted and shiny. This method works pretty well, but since the melted chocolate is used twice 12 minutes apart, it sometimes hardens in between.
- Double Boiler – You can boil water in a large saucepan, and place a glass bowl with the chocolate chips and coconut oil above the boiled water pan. Then, stir until the chocolate melts. This is my favorite method to keep the chocolate color shiny and also to keep the melted chocolate liquid and warm while the first layers are setting.
- Stove – Place the chocolate and coconut oil in a non-stick saucepan and warm over low-medium heat. Stir constantly and slowly until the chocolate melts. This method is excellent as the pan stays warm for a while and will keep the melted chocolate liquid between the steps.
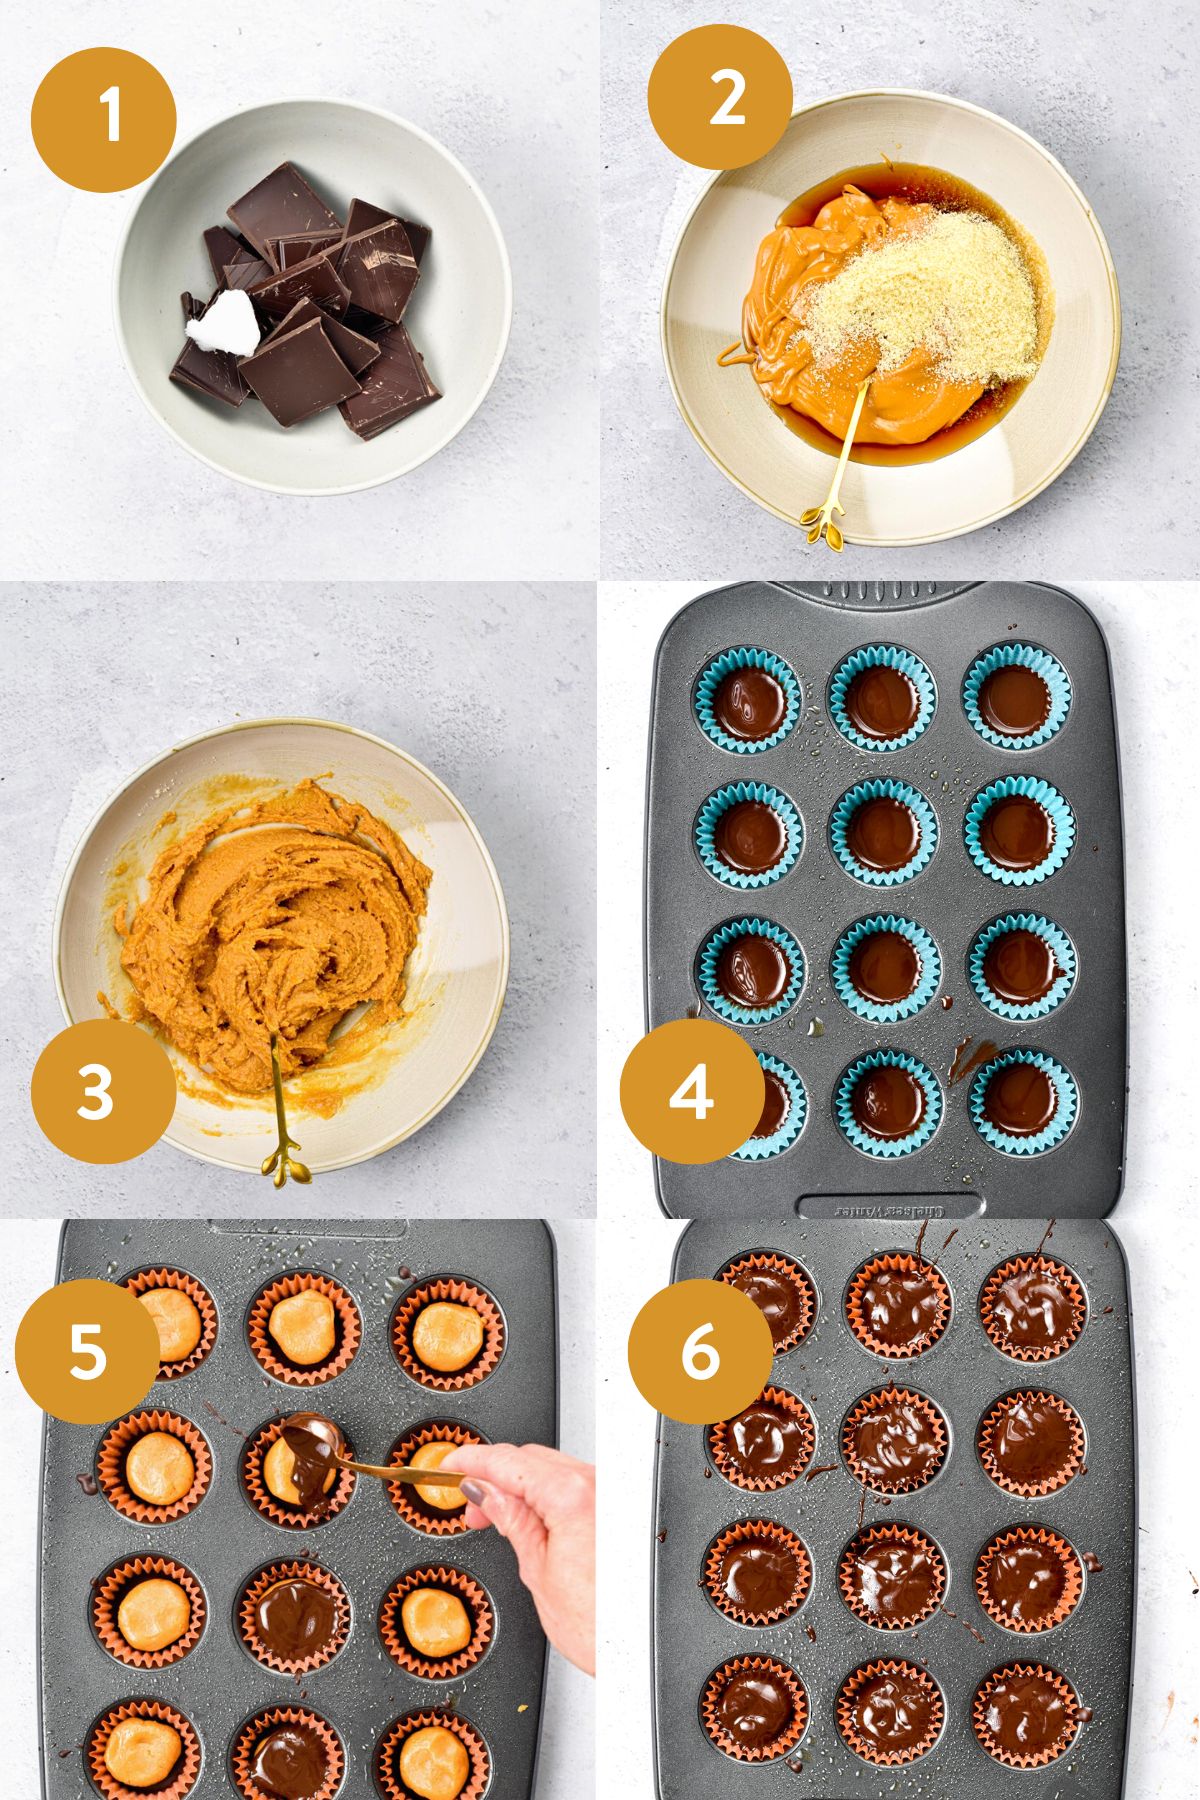
- For mini cups, fill the bottom of the paper liner with one and a half teaspoons of melted chocolate. For regular cups, use three teaspoons of melted chocolate.
- Fill the entire 12-hole muffin pan or two 12-mini hole muffin pans following the amount listed before.
- Next, place the pans in the freezer to set the chocolate. It takes between 10 and 12 minutes to harden. Meanwhile, add the peanut butter, maple syrup, vanilla, and almond flour into a mixing bowl. Stir until thick and sticky.
- Scoop out two teaspoons of filling and roll it into a ball between your lightly oiled hands, then press it to flatten a bit.
- Remove the pans from the freezer and place the peanut butter discs in the pan on top of the chocolate layer. Repeat until all of the peanut butter filling is used.
- Close the peanut butter cups by adding one and a half teaspoons of melted chocolate on top of the peanut butter filling. If needed, add more melted chocolate to fully cover the creamy peanut butter filling.
- Freeze the pan again to set the top chocolate layer.
Storage Instructions
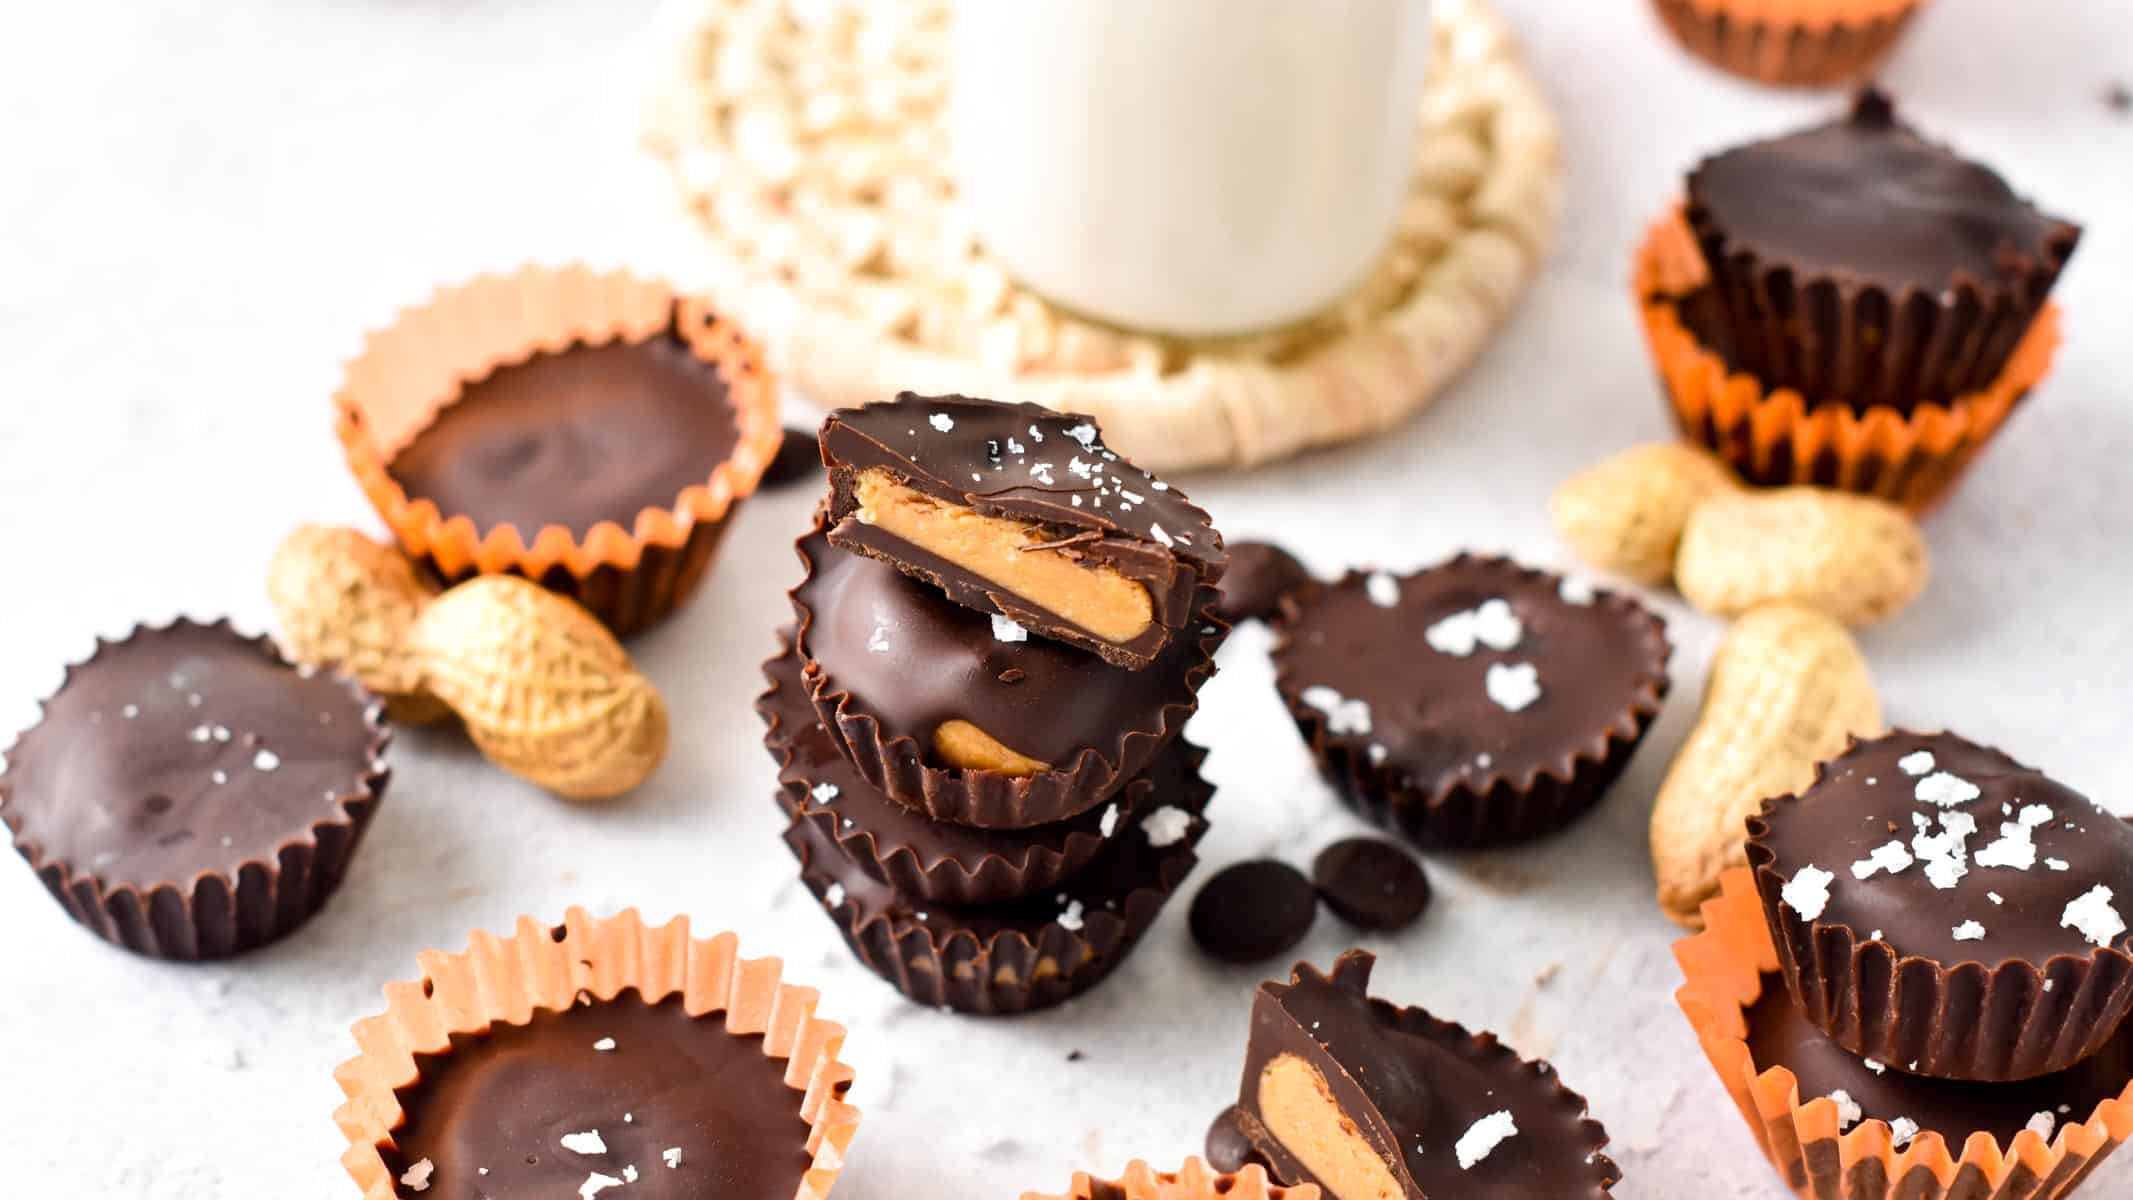
You can store the peanut butter cups in a sealed box or bag in the fridge for up to 2 weeks. They can also be frozen in zip-lock bags for up to three months. Thaw the cups for one hour or overnight at room temperature before eating.
Allergy Swaps
Below are some ingredients substitution options to adapt the recipe to common food allergies and diet restrictions..
- Dark Chocolate – Any vegan chocolate alternatives can be used in this recipe, including melted carob if you have a cocoa allergy.
- Nut-Free – Replace the peanut butter with sunflower seed butter to make sunflower butter cups. Swap two tablespoons of almond flour for one teaspoon of coconut flour or two tablespoons of sesame seed flour.
- Coconut-Free – You can use any oil to melt the chocolate, including avocado oil or olive oil.
- Oil-Free – You can melt the chocolate without oil, but the shell takes longer to firm up.
- Keto Sugar-Free – It’s easy to use this recipe to make vegan keto peanut butter cups. Simply use sugar-free dark chocolate chips and your favorite sugar-free maple syrup brand.
Frequently Asked Questions
Below are my answers to your most frequent questions about these vegan peanut butter cups.
Absolutely, you can decrease the saturated fat and use almond butter instead of peanut butter in this recipe.
Yes, these cups won’t melt at room temperature, but they last longer if stored in the fridge.
More Peanut Butter Recipes
Below are some more peanut butter recipe inspiration for you to try.
Did You Like This Recipe?
Leave a comment below or head to our Facebook page for tips, our Instagram page for inspiration, our Pinterest for saving recipes, and Flipboard to get all the new ones!

Vegan Peanut Butter Cups
Ingredients
- 1 cup Vegan Dark Chocolate Chips - or 85% dark chocolate
- 1 teaspoon Coconut Oil
- ½ cup Peanut Butter (Unsalted)
- 2 tablespoons Maple Syrup
- 2 tablespoons Almond Flour
- ½ teaspoon Vanilla Extract
Instructions
- Choose between a 12-hole muffin pan for large cups or two 12-hole mini-muffin trays for mini peanut butter cups. Line the tray with muffin paper liners. Spray paper with oil spray. Set aside.
- Double boiler method – check the post above for the microwave option. Boil water in a large saucepan and remove from the heat.
- In a large glass bowl that fits in the saucepan, add the chocolate chips and coconut oil. Place the bowl on top of the saucepan. Stir the chocolate mixture with a wooden or silicone spatula to gently melt the chocolate.
- Pour 1 1/2 teaspoons of melted chocolate (for mini cups or three teaspoons for large cups) at the bottom of each muffin paper case. Place the muffin trays in the freezer while preparing the filling. It should take 10 minutes for the chocolate layer to set.
- Keep the remaining melted chocolate in the glass bowl above the warm saucepan to keep it liquid.
- In a mixing bowl, stir peanut butter, maple syrup, vanilla extract, and almond flour until it forms a thick sticky paste.
- Remove the muffin tray from the freezer- the chocolate should be hard and set for the best result. If not, keep it longer in the freezer before adding the filling.
- Scoop out about 1-2 teaspoons of batter, roll into a small ball, flatten it into a disc, and place one of these peanut butter discs in each previous muffin paper liner – filled with hardened melted chocolate
- Pour the remaining melted chocolate on top of the peanut butter filling.
- Freeze baking pans again until the chocolate hardens and has set, which takes about 10-12 minutes.
Storage
- Store the peanut butter cups in the fridge up to 2 weeks in a sealed container.




I can’t have almond or coconut. What do you suggest for substitutes?
You can replace almond flour by sesame flour, sunflower seed flour and coconut oil by any oil or melted vegan butter.