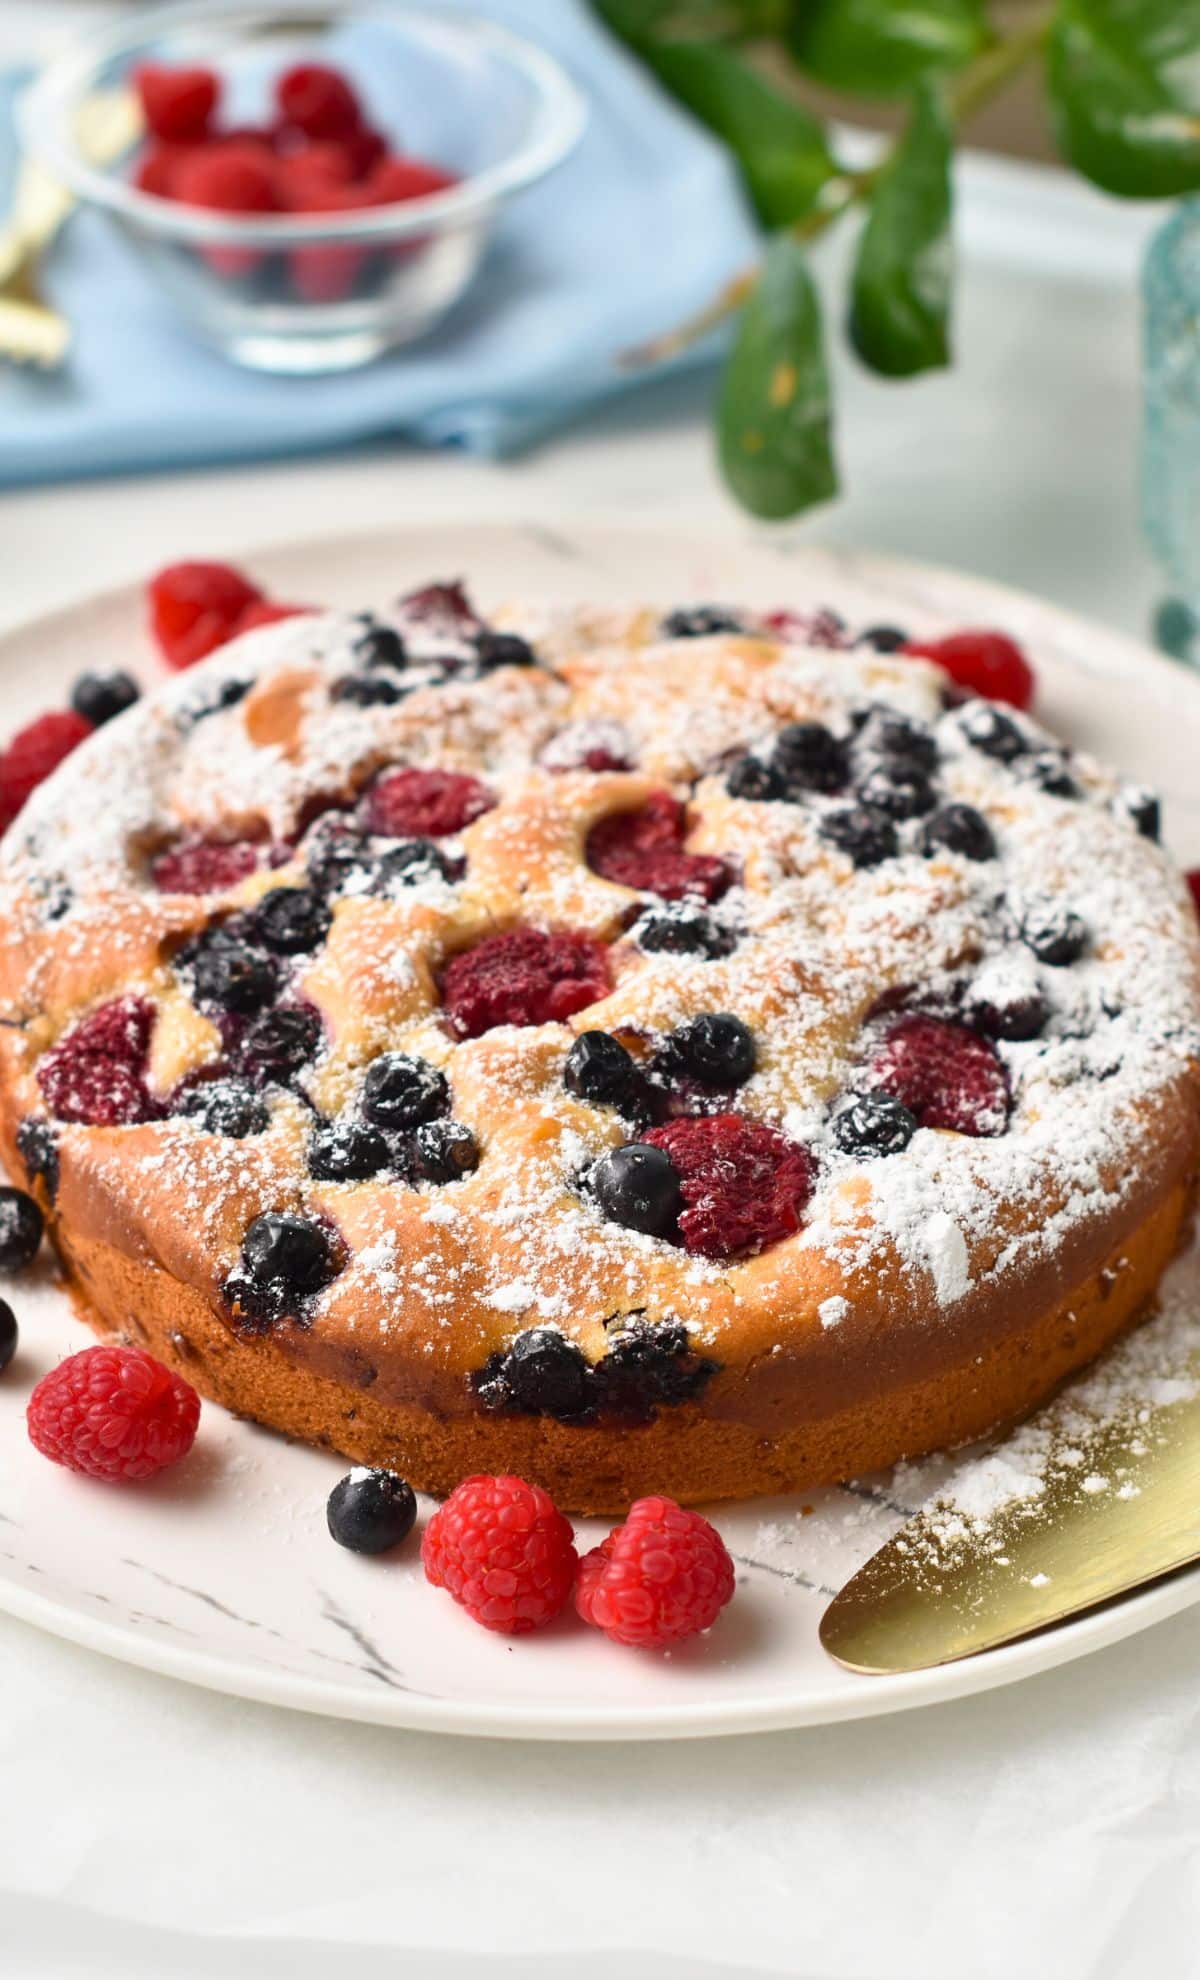
इस योगर्ट बेरी केक is a egg-free, dairy-free 5-ingredient cake made with coconut yogurt. It has a very moist vanilla crumb and it’s filled with juicy berries. Did I mention it’s so easy to make?
I love baking and the first cake I learned to make when I was a kid was the simple yogurt cake. I’ve already made a vegan version of the classic yogurt cake with my योगर्ट केक which is made with just 4 ingredients, but I wanted to make a fruity version.
It’s not just as simple as adding berries to the original recipes, as they can throw off the dry-to-liquid ingredient ratio. So I had to come up with a new recipe, and you won’t regret it, it’s delicious!
पूरी रेसिपी नीचे दी गई है, लेकिन नीचे दिए गए मेरे सभी टिप्स देखना न भूलें, जिनमें सामग्री के विकल्प, मेरे खाना पकाने के टिप्स और चरण-दर-चरण तस्वीरें शामिल हैं!
क्या आपको यह रेसिपी पसंद आई?
एक छोड़ दो टिप्पणी नीचे देखें या हमारे पेज पर जाएं Facebook पृष्ठ जहां मैं (लगभग) सभी टिप्पणियों का जवाब देता हूं, हमारा Instagram पेज प्रेरणा के लिए, या हमारे Pinterest व्यंजनों को सहेजने के लिए!
योगर्ट बेरी केक
सामग्री
- 1 साढ़े कप स्वंय बढ़ता आटा - (नोट 1)
- 1 ¼ कप पौधे आधारित दही - (नोट 2)
- ⅔ कप ब्राउन शुगर - (नोट 3) या नारियल चीनी
- ⅓ कप अंगूर के बीज का तेल - या कोई भी हल्का वनस्पति तेल जो आपको पसंद हो
- 1 साढ़े कप फलों का मिश्रण - विभाजित
वैकल्पिक – स्वाद के लिए अनुशंसित
- 2 चम्मच वेनीला सत्र - या 1 छोटा चम्मच बादाम का अर्क
- 2 चम्मच नींबू का रस
अनुदेश
- ओवन को 350°F (180°C) पर पहले से गरम कर लें। एक 9 इंच के गोल केक पैन में पार्चमेंट पेपर बिछा लें। पैन के किनारों और तले पर तेल लगा लें। इसे अलग रख दें।
- एक बड़े कटोरे में वनीला फ्लेवर वाला दही, तेल और ब्राउन शुगर डालकर अच्छी तरह फेंट लें। अगर आपका दही बिना फ्लेवर वाला है या उसमें हल्का वनीला फ्लेवर है, तो उसमें थोड़ा सा वनीला एक्सट्रेक्ट और/या नींबू का रस मिला लें।
- इसमें सेल्फ-राइजिंग आटा मिलाएं और तब तक हिलाते रहें जब तक घोल गाढ़ा और चिकना न हो जाए।
- 3/4 कप मिश्रित बेरीज डालकर घोल को धीरे से मिलाएं ताकि वे समान रूप से मिल जाएं।
- तैयार पैन में घोल डालें और ऊपर से बची हुई बेरीज छिड़कें। उन्हें घोल में हल्के से दबा दें।
- केक को 350°F (180°C) पर 45-50 मिनट तक बेक करें। केक के बीच में टूथपिक डालकर देखें कि बैटर जम गया है या नहीं। अगर टूथपिक साफ निकलती है, तो केक को ओवन से निकाल लें और पैन में ही 15 मिनट के लिए कमरे के तापमान पर ठंडा होने दें। अगर नहीं, तो 5-5 मिनट के अंतराल में तब तक बेक करें जब तक कि बैटर जम न जाए।
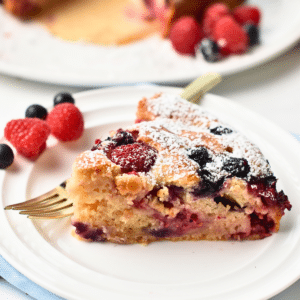
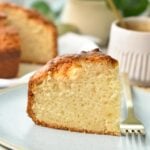
- काटने से पहले, इसे कूलिंग रैक पर कमरे के तापमान पर 1 घंटे के लिए ठंडा होने दें। ऊपर से पिसी हुई चीनी छिड़क कर परोसें।
नोट्स
पोषण
सामग्री और प्रतिस्थापन
- स्वंय बढ़ता आटा – Self-rising flour is a blend of classic all-purpose flour with baking powder. You can make your own at home with the ration in the notes of the recipe card below. For a gluten-free option, use my ग्लूटेन-मुक्त कनवर्टर, लेकिन बेकिंग पाउडर डालना न भूलें।
- पौधे आधारित दही – You can use any plant-based yogurt you like, from coconut yogurt to soy yogurt or cashew yogurt. While you can stick to plain yogurt, you can also use flavored yogurt, like berry or vanilla yogurt, to give your cake a twist.
- ब्राउन शुगर – I like to use relatively unrefined sugar like coconut sugar.
- अंगूर के बीज का तेल – or any light vegetable oil works. You can use melted coconut oil if you don’t mind the flavor. Even melted vegan butter works fine.
- फलों का मिश्रण – You can use fresh or frozen berries. No need to thaw the berries if they’re frozen. Any berry work, like blueberries, raspberries, or boysenberries. Strawberries also work, but they tend to release a lot more moisture, so you might struggle to make the cake set.
How to Make Yogurt Berry Cake
Making this berry yogurt cake is super easy, you can read all about it in the recipe card further down, but for the ones who like pictures, here are shots of the key steps.
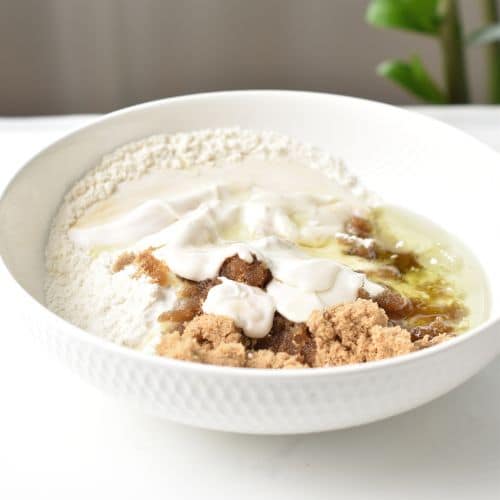
Combine all 5 ingredients in a bowl.
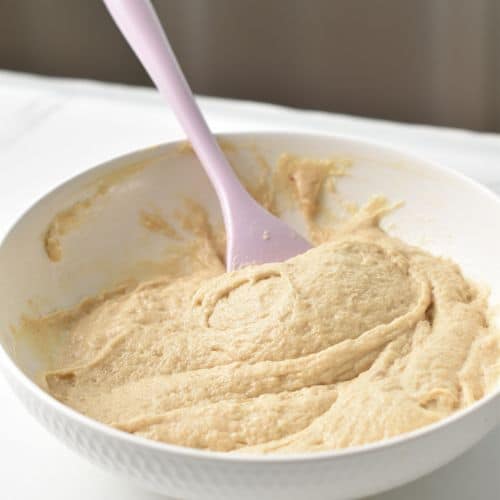
Stir the yogurt cake batter with a spatula until it’s smooth.

Make sure you use a 9-inch pan. With smaller pans, the cake takes ages to bake.
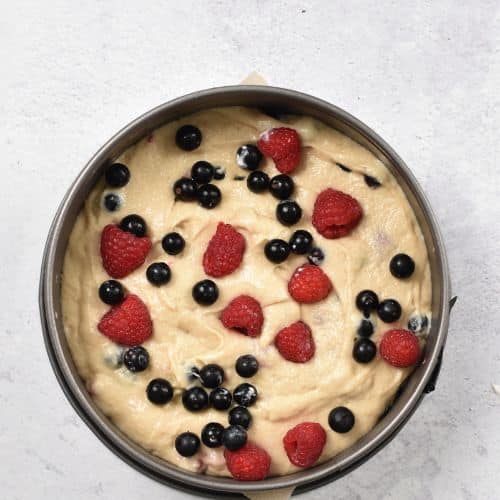
When you’ve poured the cake batter, add more berries on the top. It makes it look even better.

कैरीन के बेकिंग टिप्स
While it’s very easy to make the batter, I have a few tips for making it perfect.
- उपयोग स्प्रिंगफॉर्म पैन. This makes it a whole lot easier to unmold the cake. The batter is very soft and airy, so it can be a bit fragile if you have to pull it out.
- आप ऐसा कर सकते हैं roll the berries for the batter in a tablespoon of कॉर्नस्टार्च before folding them in. This prevents the berries from sinking to the bottom of the cake.
- केक rises nicely in the oven and deflates when it cools down, which is normal and expected with self-rising flour.


Thank you for your reply re storing and freezing cake Very helpful.
मेरा सौभाग्य!
Just made this for the first time. Easy recipe and made a great cake.
I am calorie counting so perfect to eat.
How can I best keep it fresh to eat as it will last me over several days. How is the best way to store it? Will it freeze?
I keep it in the fridge on a plate, wrap with foil for up to 4 days. Or freeze slices in airtight zip bags for up to 1 month, thaw the day before at room temperature.
Can you use applesauce instead of oil?
I wouldn’t use a oil swap in this cake. Cakes or muffins that already use a high amount of mashed fruit (banana, applesauce) or yogurt turns gummy and dense if you use a oil swap.
Easy and delicious!
Can I use oat flour next time for more nutrition?
Thank you so much! Unfortunately no, you can’t swap flour for oat flour, they are both different in so many ways. Oat flour will create a flat thick and dense cake, similar to a baked oats it won’t be a fluffy cake.
So thankful for this simple, beautiful, & perfectly explained recipe!! I made this into a 6” cake for my friend (so, yes, longer baking time!). Details like the flour blend with baking powder for rising, and topping off with berries, were extremely helpful. My only personal goofs were not tapping down my cake pan onto the counter for the batter to fill out, and being a liiittle too liberal with the berries (a liiittle too much moisture!). I highly recommend this recipe & plan to make again!
फिर से धन्यवाद!
Photo of my cake result:
https://i.ibb.co/Y77p9xLH/IMG-5650.jpg
आपको बहुत बहुत धन्यवाद!
I made this for the first time yesterday and it was so easy and it’s delicious so I’m making it again today
धन्यवाद!
Sensational very delicious and healthy.
शुक्रिया!
Looks appetising!
Thank you! I hope you try this.
अच्छा 🙂
We looove this cake! so yummy, super easy and takes 5 mins to mix ingredients with no faff. Just a bowl, spatula and measuring cups.
We made it twice with blueberries, great combo of sweet cake and tangy fruit. Also perfect for egg and dairy free diet so I can eat as much as I like
आपकी प्यारी प्रतिक्रिया के लिए बहुत-बहुत धन्यवाद!