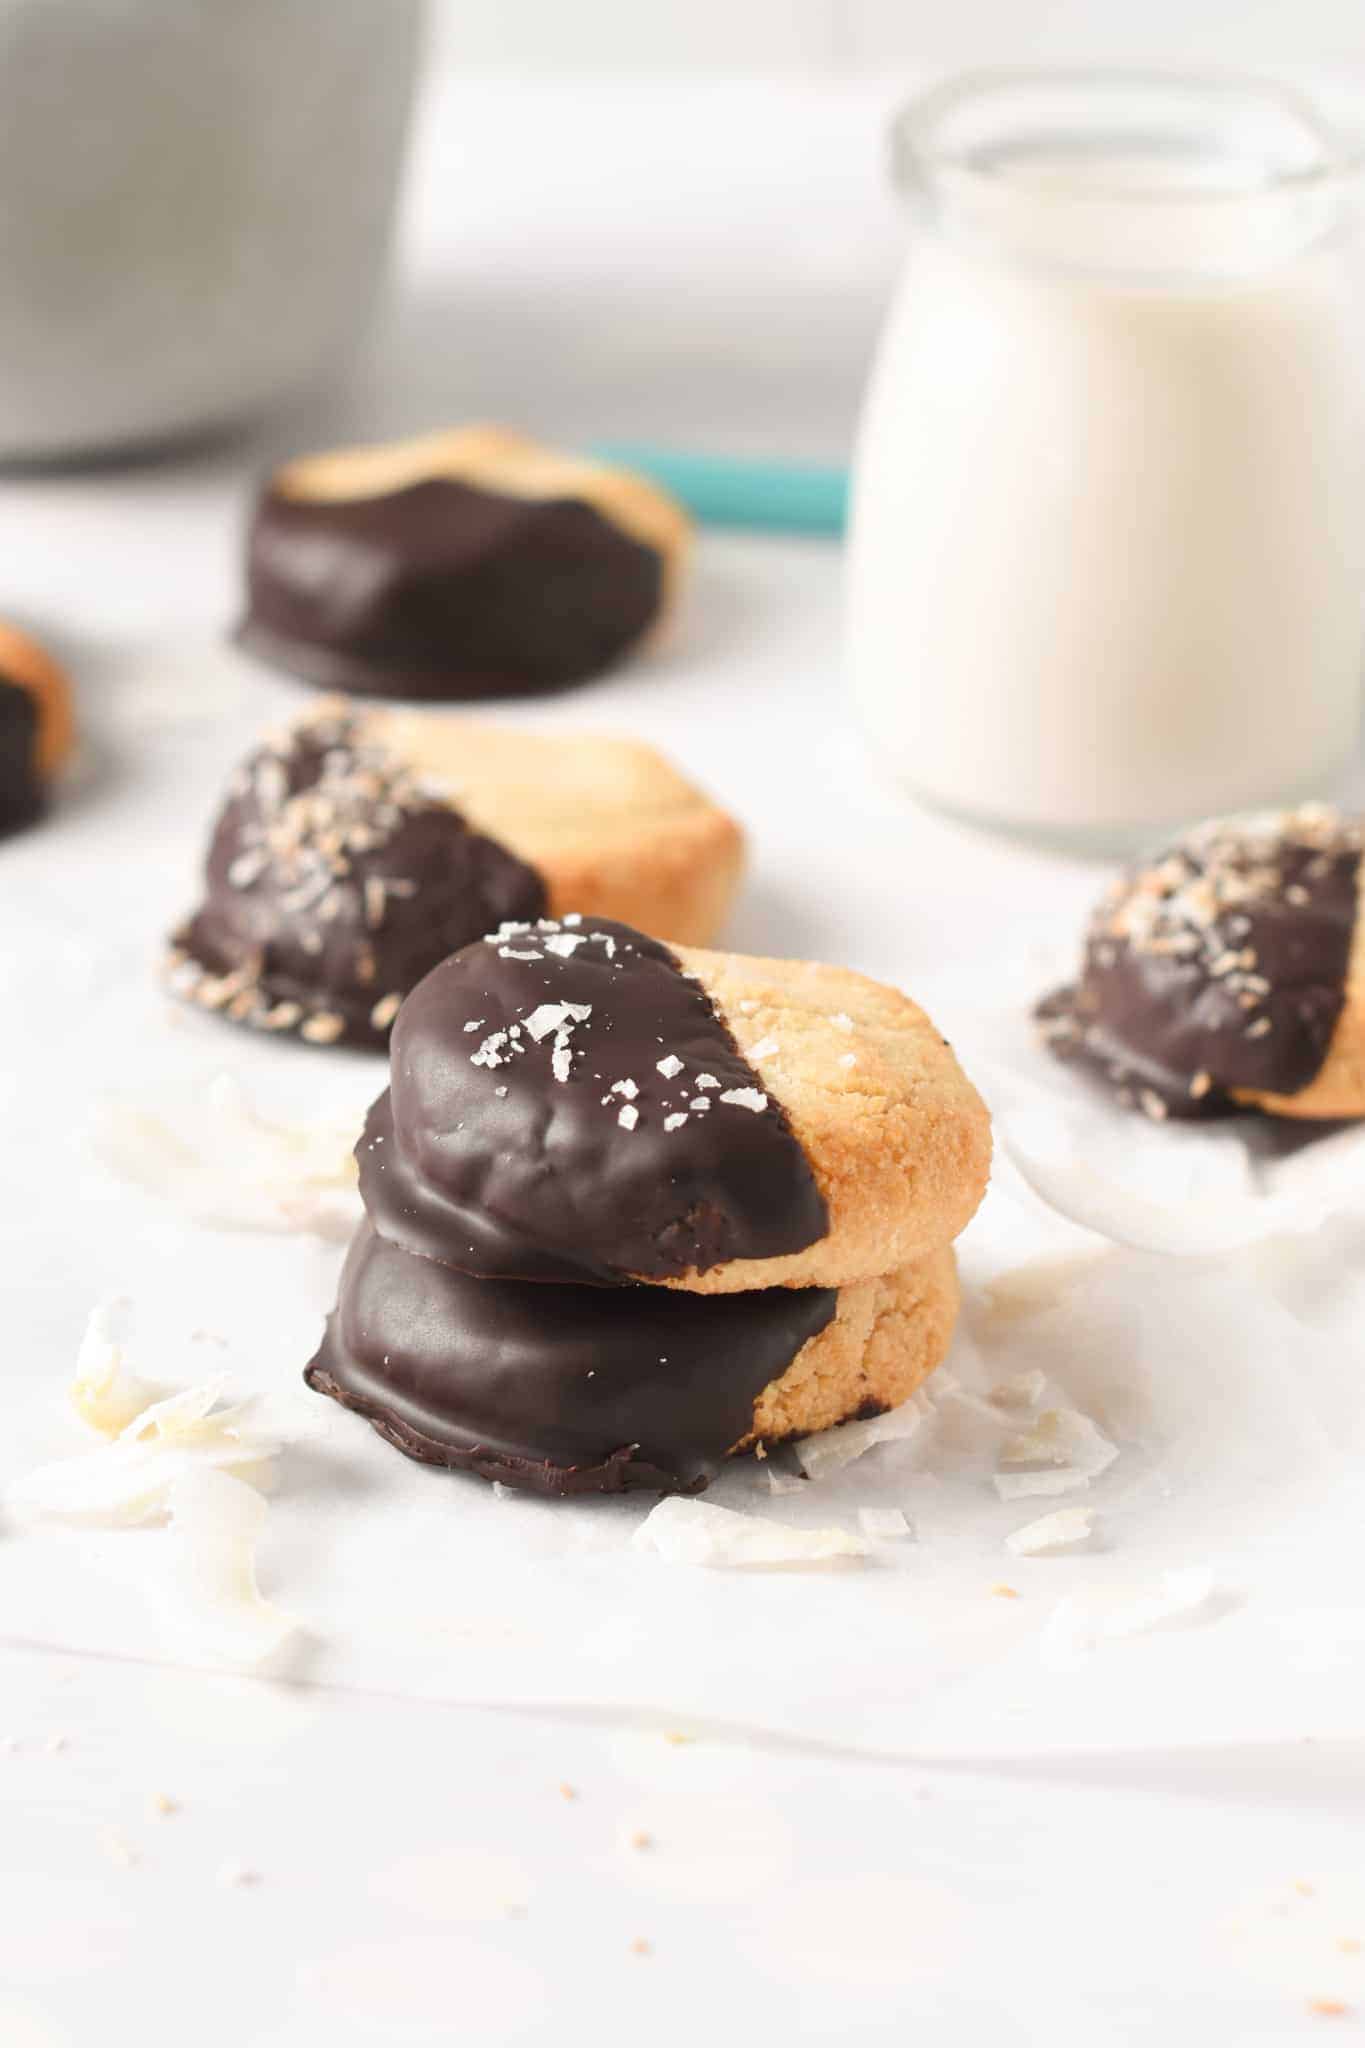
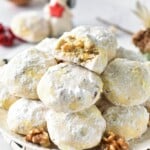
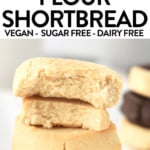
इन नारियल के आटे से बनी शॉर्टब्रेड कुकीज़ ये सेहतमंद, पाँच सामग्रियों से बनी शाकाहारी नारियल के आटे की कुकीज़ हैं जिनका स्वाद लाजवाब और चबाने में नरम होता है।
बोनस के तौर पर, नारियल के आटे से बनी ये सेहतमंद कुकीज़ अनाज रहित और कीटो-फ्रेंडली भी हैं।
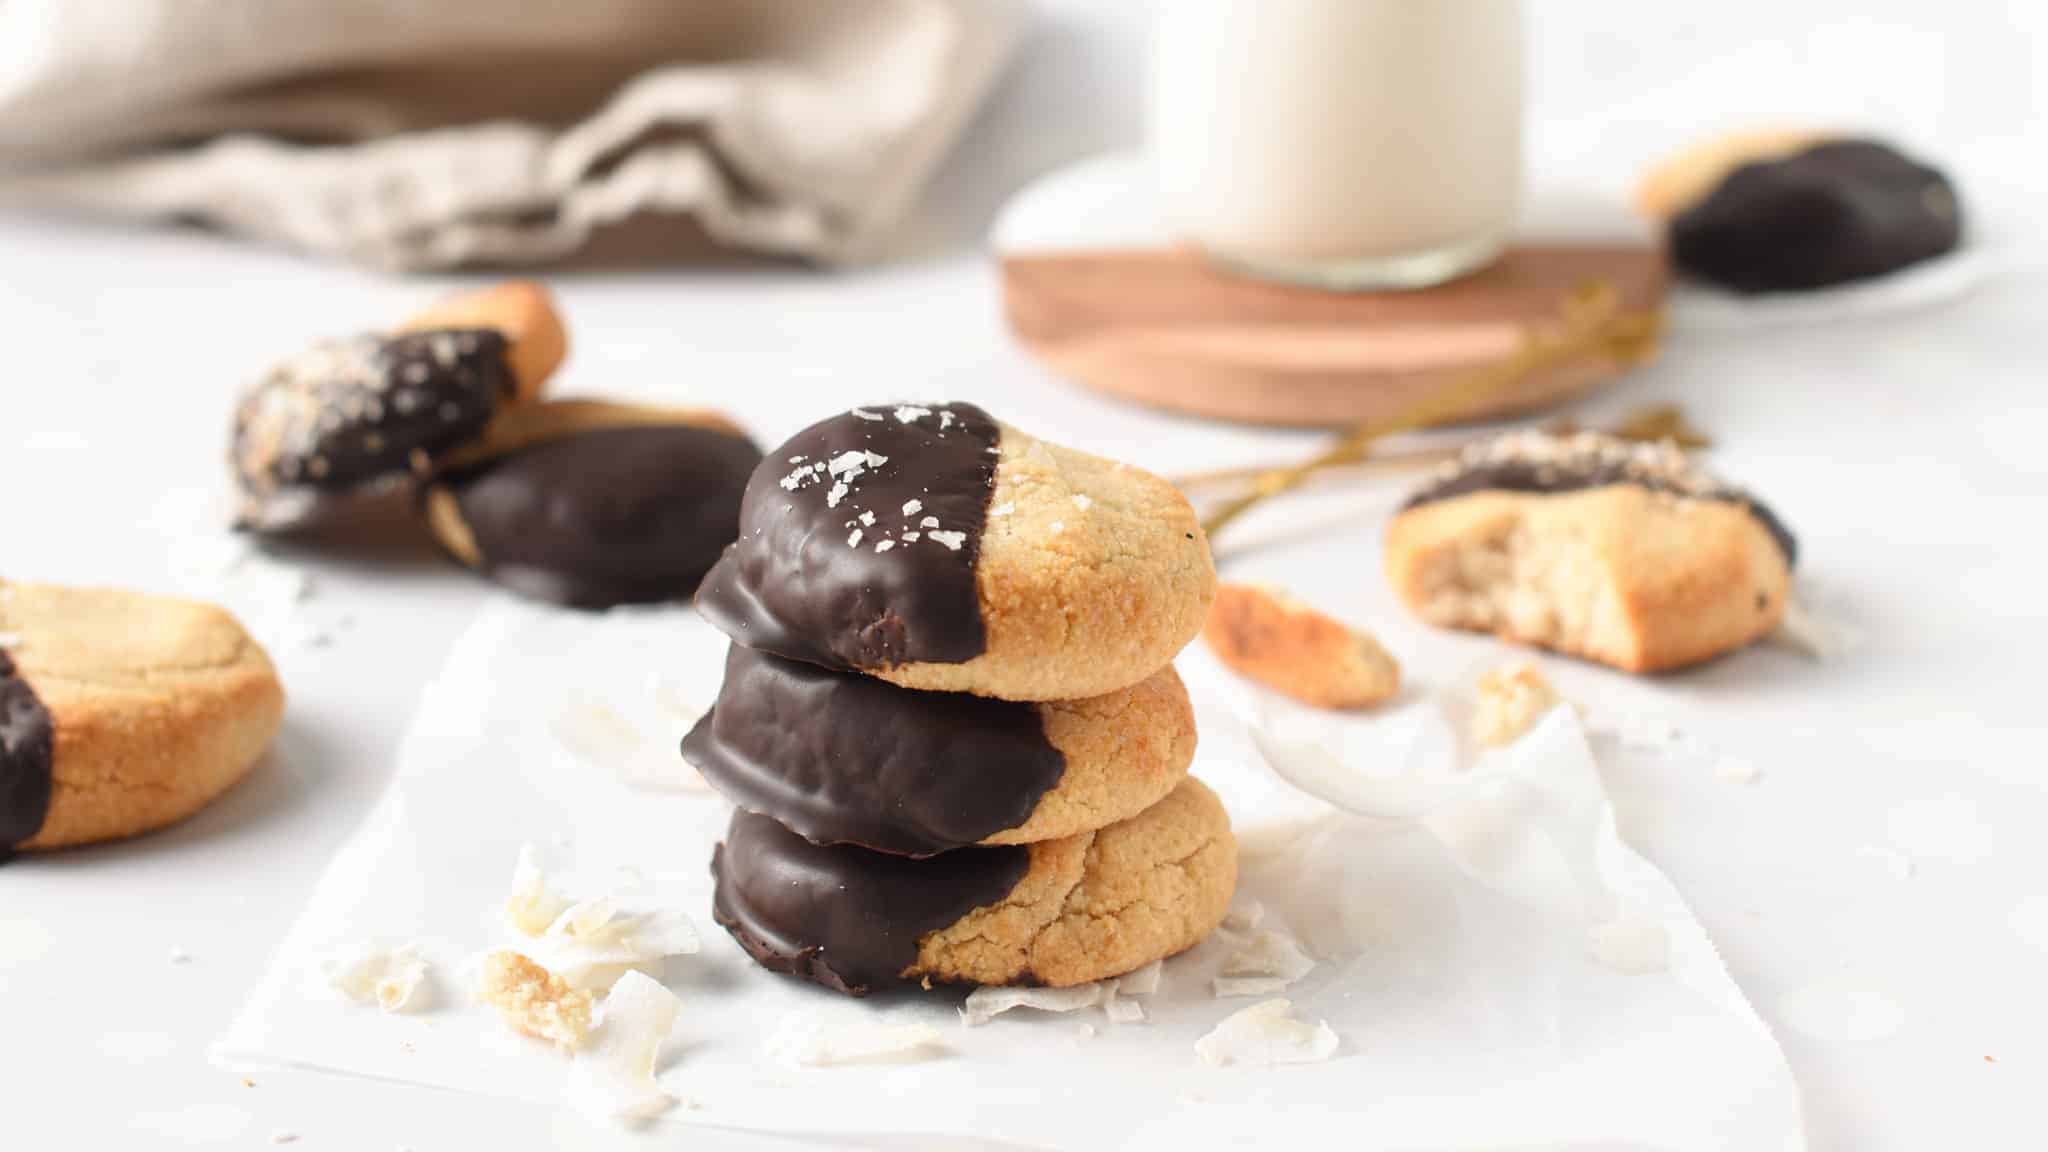
स्वादिष्ट, कुरकुरे शॉर्टब्रेड कुकीज़ का आनंद लेने के लिए कोई मौसम नहीं होता! हम इन्हें खुद बनाते हैं। शाकाहारी शॉर्टब्रेड कुकीज़, बादाम के आटे से बनी शॉर्टब्रेड कुकीज़, तथा चार सामग्रियों से बनने वाली शाकाहारी चॉकलेट शॉर्टब्रेड हर समय! और एक कप कॉफी के साथ नाश्ते के लिए 100% शाकाहारी, सेहतमंद नारियल के आटे से बनी शॉर्टब्रेड कुकीज़ से बेहतर क्या हो सकता है? अगर आपको नारियल की कुकीज़ पसंद हैं, तो आपको मेरी ये रेसिपी भी ज़रूर आज़मानी चाहिए। नारियल केले के बिस्कुट या मेरा बिना बेक किए नारियल के बिस्कुट.
सामग्री और प्रतिस्थापन
नारियल के आटे से बनी इन शॉर्टब्रेड कुकीज़ के लिए आपको कुछ बुनियादी सामग्रियों की ही आवश्यकता होगी। हालांकि, रेसिपी काफी सरल है, फिर भी सर्वोत्तम परिणाम के लिए प्रत्येक सामग्री को सटीक मात्रा में मापकर ही बनाएं।
नारियल के आटे से बनी इन शॉर्टब्रेड रेसिपी को बनाने के लिए आपको जिन सामग्रियों की आवश्यकता होगी, वे पौष्टिक प्राकृतिक सामग्रियां हैं जो संभवतः आपके रसोईघर में पहले से मौजूद होंगी।
- नारियल का आटा – सुनिश्चित करें कि आप नारियल के आटे का ताजा पैकेट या ऐसा आटा इस्तेमाल करें जो नमी के संपर्क में न आया हो। दरअसल, नारियल का आटा बहुत अधिक तरल सोखता है, और पुराने आटे के पैकेट को अगर एयरटाइट कंटेनर में न रखा जाए तो उसमें गांठें पड़ जाती हैं। नतीजतन, अगर नारियल के आटे को ठीक से स्टोर नहीं किया गया है, तो उसमें मौजूद 'सक्रिय' फाइबर की मात्रा कम हो जाएगी। आटे को सही तरीके से कैसे मापें!
- मेपल सिरप अन्य तरल मीठे पदार्थों का भी इस्तेमाल किया जा सकता है, लेकिन इससे कुकीज़ थोड़ी सूखी बनेंगी। इसीलिए नारियल के आटे से बनी इन शॉर्टब्रेड कुकीज़ के लिए मेपल सिरप की सलाह दी जाती है।
- बादाम का दूध – अनावश्यक चीनी की मात्रा कम करने के लिए बिना मीठा वाला बादाम का दूध प्राथमिकता दें।
- पिघला हुआ नारियल तेल अगर आपको नारियल के आटे से बनी कुकीज़ में नारियल का तेज़ स्वाद पसंद नहीं है, तो आप रिफाइंड नारियल तेल का इस्तेमाल कर सकते हैं। दरअसल, रिफाइंड नारियल तेल का स्वाद अनरिफाइंड नारियल तेल के मुकाबले न के बराबर होता है।
- वेनीला सत्र स्वाद के लिए।
नारियल के आटे से शॉर्टब्रेड कुकीज़ कैसे बनाएं (चित्रों सहित)
और भी शाकाहारी कुकी रेसिपी
अगर आपको आसान शाकाहारी कुकी रेसिपी पसंद हैं, तो आप मेरी अन्य रेसिपी भी आज़मा सकते हैं:

क्या आपको यह रेसिपी पसंद आई?
एक छोड़ दो टिप्पणी नीचे देखें या हमारे पेज पर जाएं Facebook पृष्ठ जहां मैं (लगभग) सभी टिप्पणियों का जवाब देता हूं, हमारा Instagram पेज प्रेरणा के लिए, या हमारे Pinterest व्यंजनों को सहेजने के लिए!
नारियल के आटे से बनी शॉर्टब्रेड कुकीज़
सामग्री
- ½ एक कप + 2 बड़े चम्मच नारियल का आटा - (नोट 1)
- ⅓ कप मेपल सिरप - (नोट 2)
- ¼ कप पिघला हुआ नारियल तेल - (नोट 3)
- 1 बड़ा चमचा बादाम मिला हुआ दूध - (नोट 4)
- 1 छोटी चम्मच वेनीला सत्र - वैकल्पिक
- ¼ छोटी चम्मच नमक - वैकल्पिक
अनुदेश
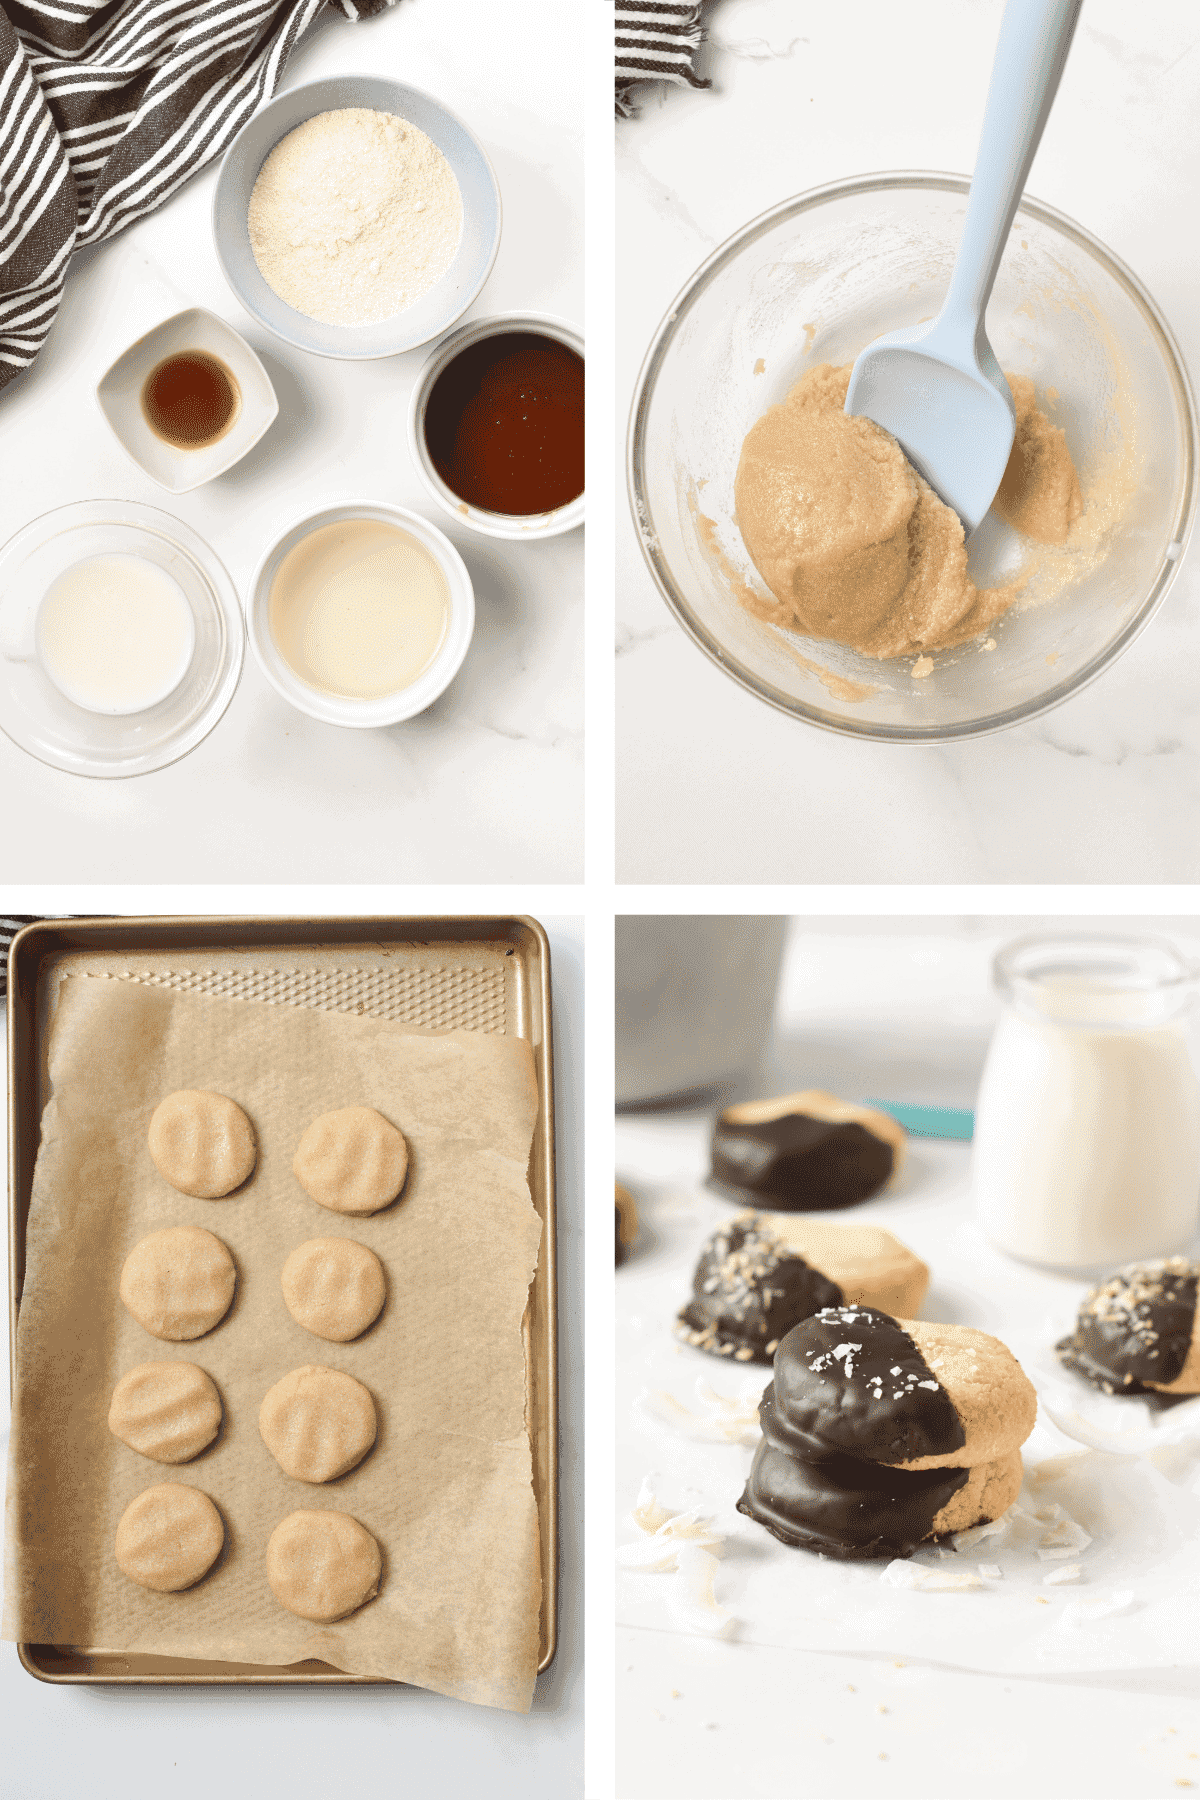
- ओवन को 350°F (180°C) पर पहले से गरम कर लें। एक बड़ी कुकी शीट पर पार्चमेंट पेपर बिछा लें। इसे अलग रख दें।
- एक मध्यम आकार के मिक्सिंग बाउल में, सभी सूखी सामग्री डालें: नारियल का आटा और नमक।
- मेपल सिरप, पिघला हुआ नारियल तेल, वेनिला एक्सट्रेक्ट और कमरे के तापमान पर रखा बादाम का दूध डालकर अच्छी तरह मिलाएँ।
- सिलिकॉन स्पैटुला से लगभग 40 सेकंड तक तब तक मिलाएं जब तक कि यह एक नरम, चिपचिपा और नम कुकी का आटा न बन जाए।
- इसे कमरे के तापमान पर 5 मिनट के लिए अलग रख दें। आटा नरम, चिपचिपा और आसानी से लोई बनाने लायक रहना चाहिए।
- एक बड़ा चम्मच घोल लें और हल्के तेल लगे हाथों से उसे गोल घुमाएं, फिर बेकिंग शीट पर रखें। गोले को हल्का सा चपटा करके कुकी का आकार दें।
- जब तक 9 कुकीज़ न बन जाएं, तब तक ऊपर दिए गए चरण को दोहराएं।
- के लिए पकाया 10-12 मिनट या फिर किनारों के हल्के सुनहरे भूरे रंग के होने तक बेक करें। ध्यान दें कि बेकिंग का समय कुकीज़ की मोटाई के आधार पर काफी भिन्न होता है। इन्हें ज़्यादा देर तक न बेक करें, वरना ये बीच से बहुत सख्त और सूखी हो जाएंगी।
- बेकिंग शीट पर 10 मिनट तक ठंडा होने दें (गरम होने पर इन्हें न छुएं क्योंकि ये अभी भी नरम होते हैं)। ठंडा होने के लिए इन्हें कुकी रैक पर रखें।
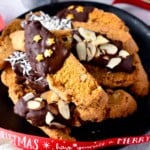
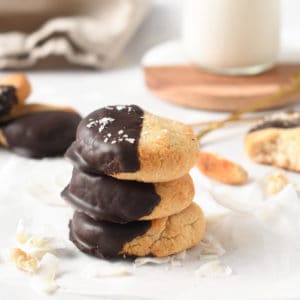
- अगर आप कुकीज़ को पिघली हुई डार्क चॉकलेट से सजाना चाहते हैं, तो कुकीज़ के कमरे के तापमान पर आने का इंतज़ार करें। आप चॉकलेट में डूबी हुई कुकीज़ को फ्रीज़ भी कर सकते हैं। 2-5 मिनट चॉकलेट की परत को जल्दी जमाने के लिए।
भंडारण
- इसे कुकी जार में कमरे के तापमान पर 1 महीने तक स्टोर करें या ज़िपलॉक बैग में फ्रीज़ करें। एक दिन पहले डीफ़्रॉस्ट कर लें।


Can I use olive oil ?
Feel free to experiment but I didn’t try so I ma unsure if it will taste good or texture goes well.
Just made these, the taste is great, but they were slightly too crumbly even though I measured by weight. Will try adding a bit more syrup next time and going by feel.
Made these today and love them! So quick and easy to make! I did cut them a bit too thick and I only baked them for 10 mins and the bottoms were very brown. Next time I will cut them thinner and cut the cook time down a bit. They will be a staple in our house! Not too sweet! Nice texture. Subtle coconut flavor!
The recipe above states maple syrup. Did you use regular maple syrup or sugar-free maple syrup? I am on a keto diet and don’t want the cookies to be too high in net carbs.
Maple syrup is EXCELLENT for your brain. Don’t be afraid of the sugar.
I am using maple syrup, sugar-free maple syrup are high in fiber and will dry out the cookies a lot. Feel free to experiment with it !
So excited to try this! I am on an AIP diet for arthritis and do miss my cookies. This sounds perfect. I love Gillian’s thought to add the zest of lemon.
Hi could i sub honey for maple syrup / another sweetner that might work ?
Sure, any liquid sweetener works in this recipe
Hell-o, Just seen the recipe can you use sugar free honey? Haven’t tried it yet. Thanks!
शायद हां
Hello Carine;
I just found this recipe today and was planning to make this for someone who is trying to eat “no sugar” (including no artificial sugars) and wondering if you think this recipe would work if:
(1). I deleted the sugar altogether.
(2). Decreased the sugar by 50%?
If you could provide your thoughts on both of the above, that would be really appreciated.
I don’t think it will works without sugar I am sorry
I love coconut flour! Thank you for the sweet and easy recipe! I followed as written and it turned out great! No crumbling and very tasty!
Hi Carinne,
Thanks for posting this recipe, I am looking forward to figuring out how to make it work. I measured the ingredients in grams and managed to roll the dough into a log. But how do you cut the log? You do not have any photos. When I cut it, it completely crumbles into bits. You mention that the dough can be pressed back together if it crumbles, but that is not the case when it is chilled. I resharpened my knife so that it is very sharp, and I use very light pressure, but the log completely falls apart.
Try dental fless to cut with ease…put floss under log, cross floss on top, pull gently to slice…works good with any fragile dough. But I suggest unflavored floss.
महान विचार!
There’s picture above this comment section of how I cut the slices from the log. You can wet your finger if it’s that crumbly but I am not sure what happened I don’t have this issue here.